Introduction to the role of tile clips
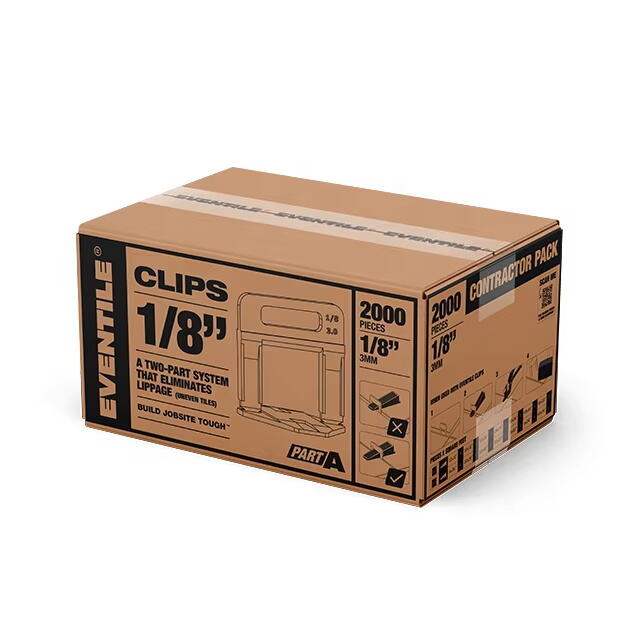
When planning a professional tile installation, few tools are as practical and transformative as tile clips. These small but powerful components simplify alignment, reduce uneven lippage, and ensure consistent spacing between tiles. By using tile clips correctly, installers can achieve results that look precise and last for years. Tile clips also minimize the risks of tiles shifting during curing, which is a common frustration when working with large-format tiles or in high-traffic areas. A well-executed project begins with choosing the right system and applying the proper installation steps, which makes understanding the use of tile clips essential for both professionals and homeowners.
Selecting the right tile clips
Matching clips to tile thickness
Not all tile clips are designed the same, and thickness compatibility is the first factor to consider. Each clip system specifies the tile thickness it can handle, often ranging from slim porcelain to thicker stone slabs. Selecting clips too small can lead to breakage under tension, while oversize clips may fail to apply enough pressure. Correct sizing ensures that tiles remain level and firmly supported.
Considering grout joint width
Another important detail is grout spacing. Tile clips are designed to provide consistent grout lines, whether narrow or wide. If uniform spacing is critical to the project design, selecting tile clips that support the required grout width ensures consistency across the floor or wall. Inconsistent spacing can undermine even the most carefully chosen tiles, but properly matched clips prevent such problems.
Preparing the surface and planning layout
Ensuring a stable substrate
Tile clips are effective only when paired with a stable, clean, and even substrate. Preparing the base surface involves removing dust, oils, or old adhesives and leveling low or uneven spots. A surface that is flat within acceptable tolerance limits reduces the number of clips required and prevents unnecessary stress on tiles. Skipping this step may result in hollow spots or long-term instability.
Planning patterns and clip distribution
Layout planning determines where each tile clip will be placed. Whether the design is straight lay, diagonal, or a complex pattern, establishing a consistent strategy avoids uneven joints. Dry-laying a section allows installers to test how clips will align at intersections and edges. Planning ensures smooth progress and minimizes cutting waste, which is especially important with costly tiles.

Applying adhesive and inserting tile clips
Using the right adhesive and trowel
The foundation of proper installation lies in applying the adhesive evenly. A notched trowel matched to tile size ensures uniform coverage, reducing voids beneath tiles. Proper adhesive coverage enhances the function of tile clips, which rely on firm support beneath tiles to align edges effectively. Without solid adhesion, clips may fail to hold tiles in place.
Positioning clips under tile edges
Insert tile clips at the base of tile edges, making sure they sit flush against the substrate. For large-format tiles, clips should also be added along the edges, not just at the corners, to prevent bowing or sagging. Consistent placement is the secret to creating a smooth, even surface, and adjusting clip density according to tile size helps maintain long-term stability.
Locking tiles in place with wedges or caps
Tightening clips to achieve alignment
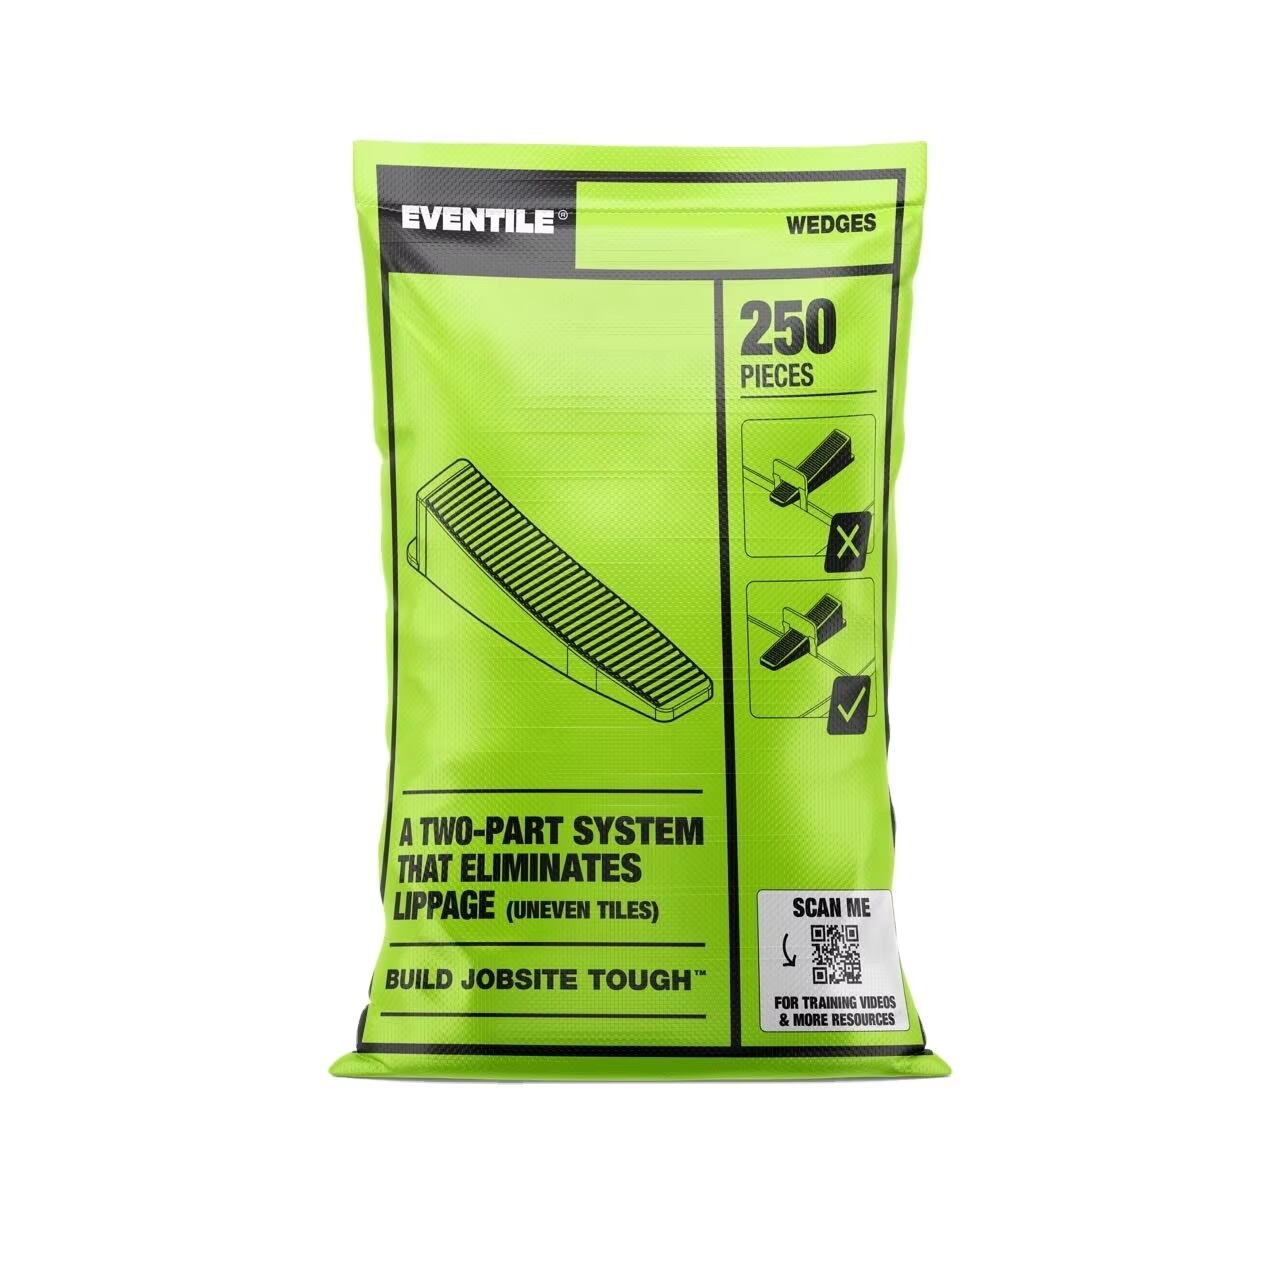
Once clips are in position, wedges or caps are inserted to lock the tiles together. Pressure should be applied gradually, tightening across a section rather than forcing a single joint too quickly. Over-tightening can stress the tile or adhesive, while under-tightening can leave uneven edges. Balanced pressure creates the seamless look that installers aim for.
Checking level during the process
Even when using tile clips, regular checks with a straightedge or level are essential. Tile clips make adjustments easier, but installer oversight ensures no minor imperfections are overlooked. By pausing to inspect as work progresses, errors can be corrected before adhesive sets. This habit saves both time and material in the long run.
Common mistakes to avoid during installation
Overusing or underusing clips
Placing too many clips can slow installation and waste material, while too few may fail to control lippage. The right balance depends on tile size and substrate condition. For example, larger tiles often require closer spacing of tile clips compared to smaller formats. Careful calculation prevents inefficiency and ensures a smoother finish.
Ignoring substrate preparation
Some installers rely too heavily on tile clips to fix underlying issues. While clips improve alignment, they cannot compensate for major surface irregularities. Ignoring surface preparation may lead to hollow tiles, cracks, or uneven curing. Tile clips work best as a supplement to professional preparation, not as a substitute.
Removing tile clips after curing
Timing the removal correctly
Tile clips are temporary aids and must be removed once adhesive cures. Waiting the recommended period, typically 24 to 72 hours depending on product and environment, ensures tiles remain secure. Removing too early can cause movement, while leaving clips too long makes removal difficult. Always check manufacturer guidance for best results.
Safe removal methods
Most systems allow clips to break off cleanly at the base with a mallet or removal tool. Clips should always snap in the direction of the grout line to avoid damaging edges. After removal, joints should be cleaned thoroughly to prepare for grouting. This step ensures grout bonds well and maintains visual consistency.
Advanced applications for tile clips
Large-format and heavy tile installations
Tile clips prove especially valuable when handling large-format or heavy tiles. These tiles are more prone to unevenness and require extra support during curing. Tile clips, when used in greater density, prevent sagging and edge misalignment. This approach provides professional-quality results without excessive manual correction.
Complex patterns and feature walls
When creating decorative layouts, such as herringbone or feature walls, alignment becomes even more critical. Tile clips guide each tile into place and prevent cumulative errors that distort the design. Their role in intricate patterns ensures not only functionality but also aesthetic appeal, making the final work sharp and precise.
Maintaining long-term quality
Inspecting tiles after installation
Once clips are removed and grout is applied, inspection helps verify installation success. Look for hollow sounds, uneven lines, or cracked edges. Any issues discovered early can be repaired before they become long-term problems. Consistent inspection reflects professional diligence.
Ongoing care and performance
Tiles installed with the aid of clips often perform better over time due to their consistent support during curing. Proper maintenance, including routine cleaning and monitoring grout condition, extends the life of tiled surfaces. Reliable installations showcase the value of investing in quality tile clips.
FAQ
What size tile clips should I choose
Tile clips should be selected according to tile thickness and grout joint requirements. Checking manufacturer specifications ensures the clips fit the intended application and perform as expected.
How many tile clips are needed for large-format tiles
Large-format tiles require more clips than small tiles to prevent lippage and edge sagging. Spacing clips every 10 to 20 centimeters along edges is common practice for these projects.
When is the best time to remove tile clips
Clips should be removed only after adhesive has fully cured, generally between 24 and 72 hours. Always refer to adhesive guidelines before attempting removal.
Can tile clips be reused for multiple projects
Most clips are designed for single use, though some systems with reusable wedges or caps allow partial reuse. Evaluating the system design helps determine cost-effectiveness for ongoing projects.
Table of Contents
- Introduction to the role of tile clips
- Selecting the right tile clips
- Preparing the surface and planning layout
- Applying adhesive and inserting tile clips
- Locking tiles in place with wedges or caps
- Common mistakes to avoid during installation
- Removing tile clips after curing
- Advanced applications for tile clips
- Maintaining long-term quality
- FAQ


