

Understanding the Role of Professional Grout Sponges in Tile Installation
When it comes to achieving flawless tile installations, professional tilers know that success lies in the details. Among the most crucial yet often overlooked tools is the grout sponge. This specialized tool plays a vital role in creating those pristine, professional-looking tile joints that distinguish exceptional work from mediocre installations. Whether you're a seasoned contractor or a DIY enthusiast, understanding the importance of a quality grout sponge can make the difference between a stunning finish and a disappointing outcome.
A grout sponge is specifically designed with unique properties that set it apart from regular household sponges. Its dense composition and distinctive cellular structure allow it to effectively clean excess grout while maintaining the integrity of freshly applied joint lines. The importance of this tool becomes evident when you consider that even the most precisely laid tiles can be compromised by poor grouting technique or inadequate cleaning tools.
The Anatomy of Professional Grout Sponges
Material Composition and Design Features
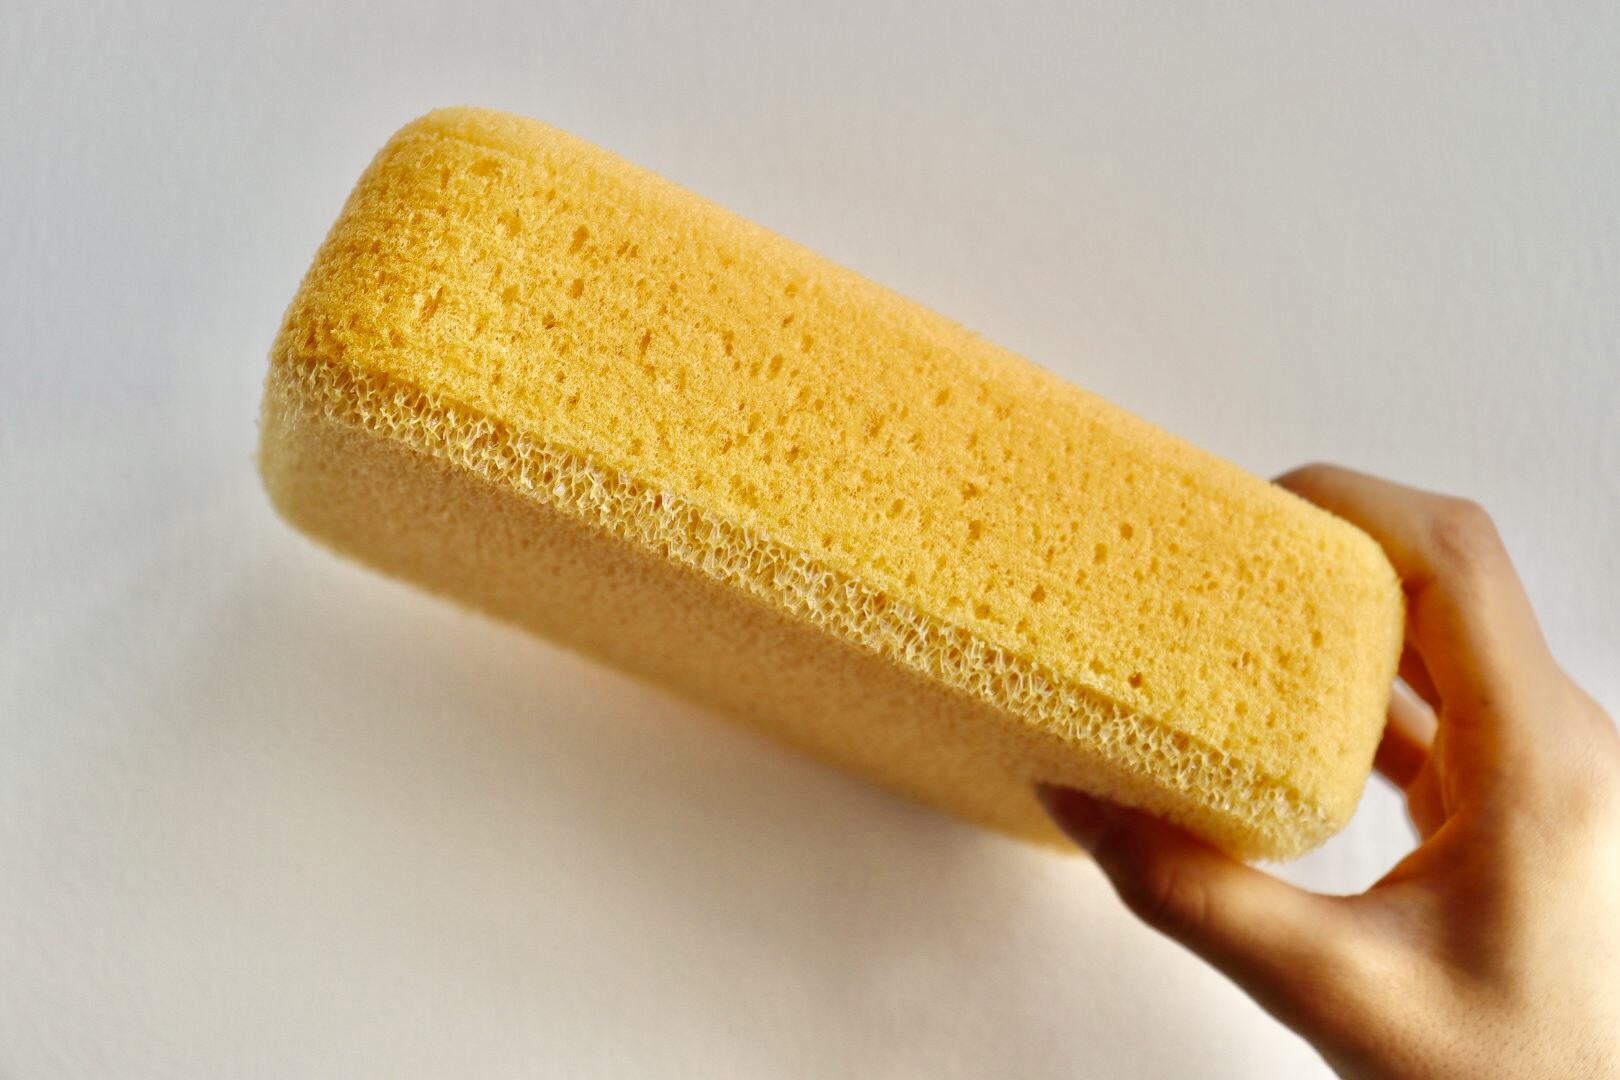
Professional grout sponges are engineered with hydrophilic materials that provide superior water absorption and release capabilities. The most effective models feature a fine-pored structure that prevents grout particles from becoming deeply embedded in the sponge material. This specialized construction allows for thorough cleaning while minimizing the risk of pulling fresh grout from the joints during the wiping process.
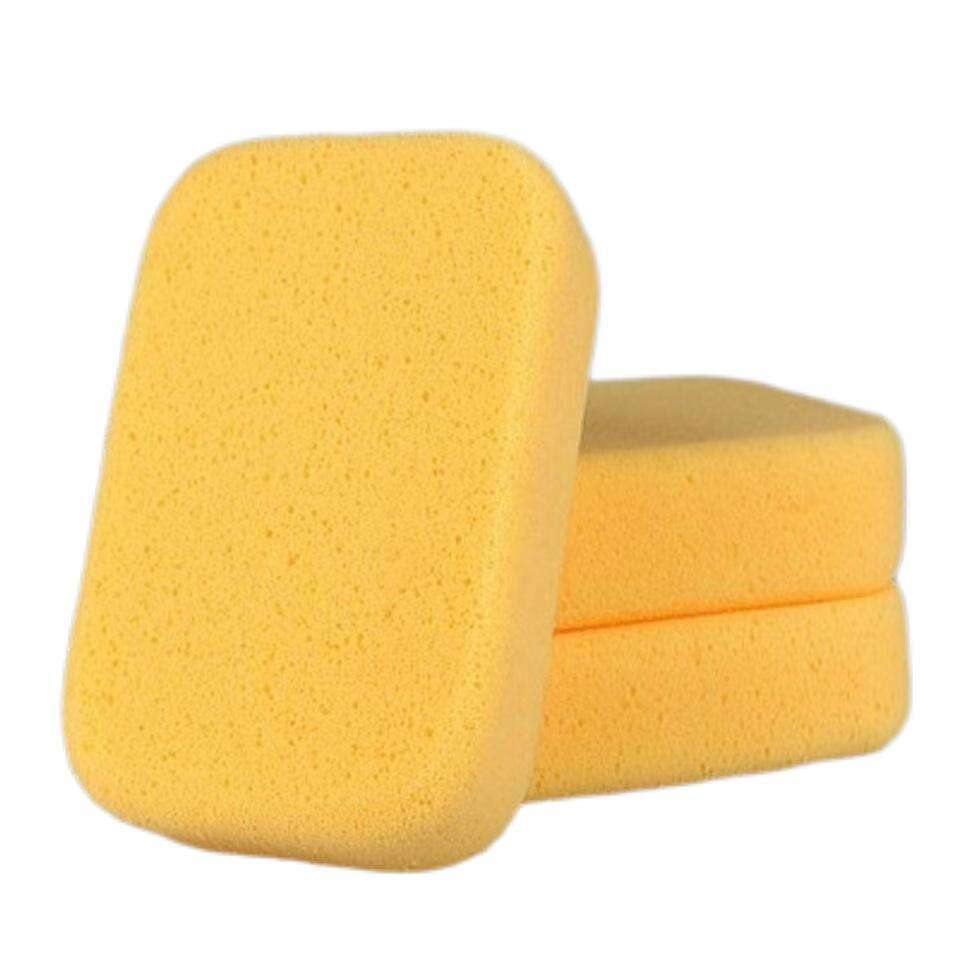
The distinctive yellow or brown coloring of most grout sponges isn't just for aesthetics - it's typically an indication of the high-density cellulose or synthetic materials used in their construction. These materials are specifically chosen for their durability and resistance to the harsh alkaline nature of cement-based grouts.
Size and Shape Considerations
The dimensions of a grout sponge are carefully calculated to provide optimal coverage and control during the cleaning process. Most professional-grade options measure approximately 6 x 4 x 2 inches, offering enough surface area to clean efficiently while remaining manageable for detailed work around corners and edges. The thickness of the sponge is particularly important, as it allows for multiple passes before requiring rinsing.
Many quality grout sponges feature rounded edges that help prevent gouging or disturbing fresh grout lines. This thoughtful design element enables smoother movements across the tile surface and reduces the likelihood of creating inconsistencies in the grout finish.
Technical Benefits of Using a Proper Grout Sponge
Superior Cleaning Efficiency
The specialized structure of a grout sponge enables it to lift residual grout from tile surfaces without leaving scratches or streaks. Unlike regular cleaning sponges, a proper grout sponge maintains its integrity even after repeated use with abrasive grout materials. This sustained performance ensures consistent results throughout large tiling projects.
The sponge's ability to hold and release water in a controlled manner prevents over-saturation of the grout lines, which could weaken the final cure. This balanced moisture control is essential for achieving optimal grout strength and color consistency.
Precision in Joint Formation
Professional grout sponges excel at maintaining the desired profile of grout joints during the cleaning process. Their density and surface texture allow for precise cleaning right up to the edge of the grout line without disturbing the carefully filled joints. This precision is particularly crucial when working with narrow grout lines or detailed mosaic patterns.
The controlled pressure application possible with a quality grout sponge helps achieve uniform joint depths across the entire tiled area. This consistency is essential for both aesthetic appeal and the structural integrity of the installation.
Best Practices for Grout Sponge Usage
Proper Cleaning Techniques
To maximize the effectiveness of a grout sponge, proper technique is essential. Begin by thoroughly soaking the sponge in clean water and wringing it out until it's damp but not dripping. Work in small sections, using light circular motions to emulsify the grout haze on the tile surface. Rinse the sponge frequently in clean water to prevent grout buildup within the sponge material.
Avoid applying excessive pressure when cleaning, as this can pull grout from the joints or create uneven surfaces. Instead, use gentle, consistent strokes and allow the sponge's natural absorption properties to do the work. Change your cleaning water regularly to prevent depositing dirty residue back onto the tiles.
Maintenance and Care
Proper maintenance of your grout sponge extends its lifespan and ensures consistent performance. After each use, thoroughly clean the sponge with fresh water until all grout particles are removed. Store the sponge in a dry, well-ventilated area to prevent mold growth and maintain its structural integrity.
Regular inspection of your grout sponge for signs of wear or damage is crucial. Replace the sponge when it shows signs of deterioration or loss of density, as a compromised sponge can lead to inconsistent cleaning results and potential damage to tile installations.
Professional Tips for Optimal Results
Timing and Temperature Considerations
The timing of grout cleaning is crucial for achieving optimal results. Wait until the grout has begun to set but before it fully hardens - typically 15-30 minutes after application, depending on environmental conditions. Working in controlled temperatures between 50-80°F provides the best working time and ensures proper grout curing.
Consider the ambient humidity and temperature when planning your grouting schedule, as these factors can significantly affect setting times and the effectiveness of your grout sponge cleaning process. In warmer conditions, you may need to work in smaller sections to prevent premature drying.
Advanced Cleaning Strategies
For challenging installations or detailed patterns, consider using multiple grout sponges in rotation. This approach allows each sponge to be thoroughly cleaned while maintaining workflow efficiency. Some professionals keep separate sponges for initial cleaning and final polishing to achieve superior results.
When working with highly textured tiles or natural stone, adapt your technique by using the corners of the grout sponge to access difficult areas. This targeted approach helps maintain grout line integrity while ensuring thorough cleaning of all surface variations.
Frequently Asked Questions
How long does a professional grout sponge typically last?
A high-quality grout sponge, when properly maintained, can last through several medium-sized tiling projects or one large installation. However, it's recommended to replace the sponge when it shows signs of deterioration or loss of density, typically after 100-150 square feet of tile work.
Can I use a regular kitchen sponge instead of a grout sponge?
Regular kitchen sponges are not suitable replacements for professional grout sponges. They lack the necessary density, durability, and specialized pore structure required for proper grout cleaning. Using a regular sponge can result in inconsistent grout lines, surface scratching, and poor overall results.
What's the best way to clean a grout sponge between uses?
After each use, thoroughly rinse the grout sponge with clean water until all grout particles are removed. Gently squeeze (don't wring) the sponge to preserve its structure, and allow it to air dry completely before storage. Avoid using cleaning chemicals, as these can break down the sponge material and affect its performance.