

Temeljna navodila za pravilno uporabo razmikov za ploščice
Profesionalno polaganje ploščic zahteva natančnost in pozornost na podrobnosti, pri čemer so razmiki med ploščicami eno najpomembnejših orodij za dosego popolne poravnave. Ti majhni plastični križi ali T-oblični deli igrajo pomembno vlogo pri zagotavljanju enakomernih rež med ploščicami, vendar mnogi navdušenci za DIY in celo nekateri izvajalci naredijo ključne napake pri njihovi uporabi. Razumevanje pravilne uporabe razmakovalnikov lahko pomeni razliko med sijajno, profesionalno izgledajočo namestitvijo in razočarajočim rezultatom, ki morda zahteva draga popravila.
Medtem ko razmiki med ploščicami lahko zdi preprosto uporabljati, njihova pravilna uporaba vključuje različne tehnične vidike in metodologije, ki jih mnogi ljudje prezreti. Od izbire prave velikosti do odstranitve v ustreznem trenutku – vsak korak lahko znatno vpliva na končni videz vaše ploščičarske površine. Poglejmo si najpogostejše pasti in se naučimo, kako jih izogniti, da bomo dosegli rezultate profesionalne kakovosti.
Razumevanje osnov razmakovalnikov za ploščice
Vrste in velikosti razmakovalnikov za ploščice
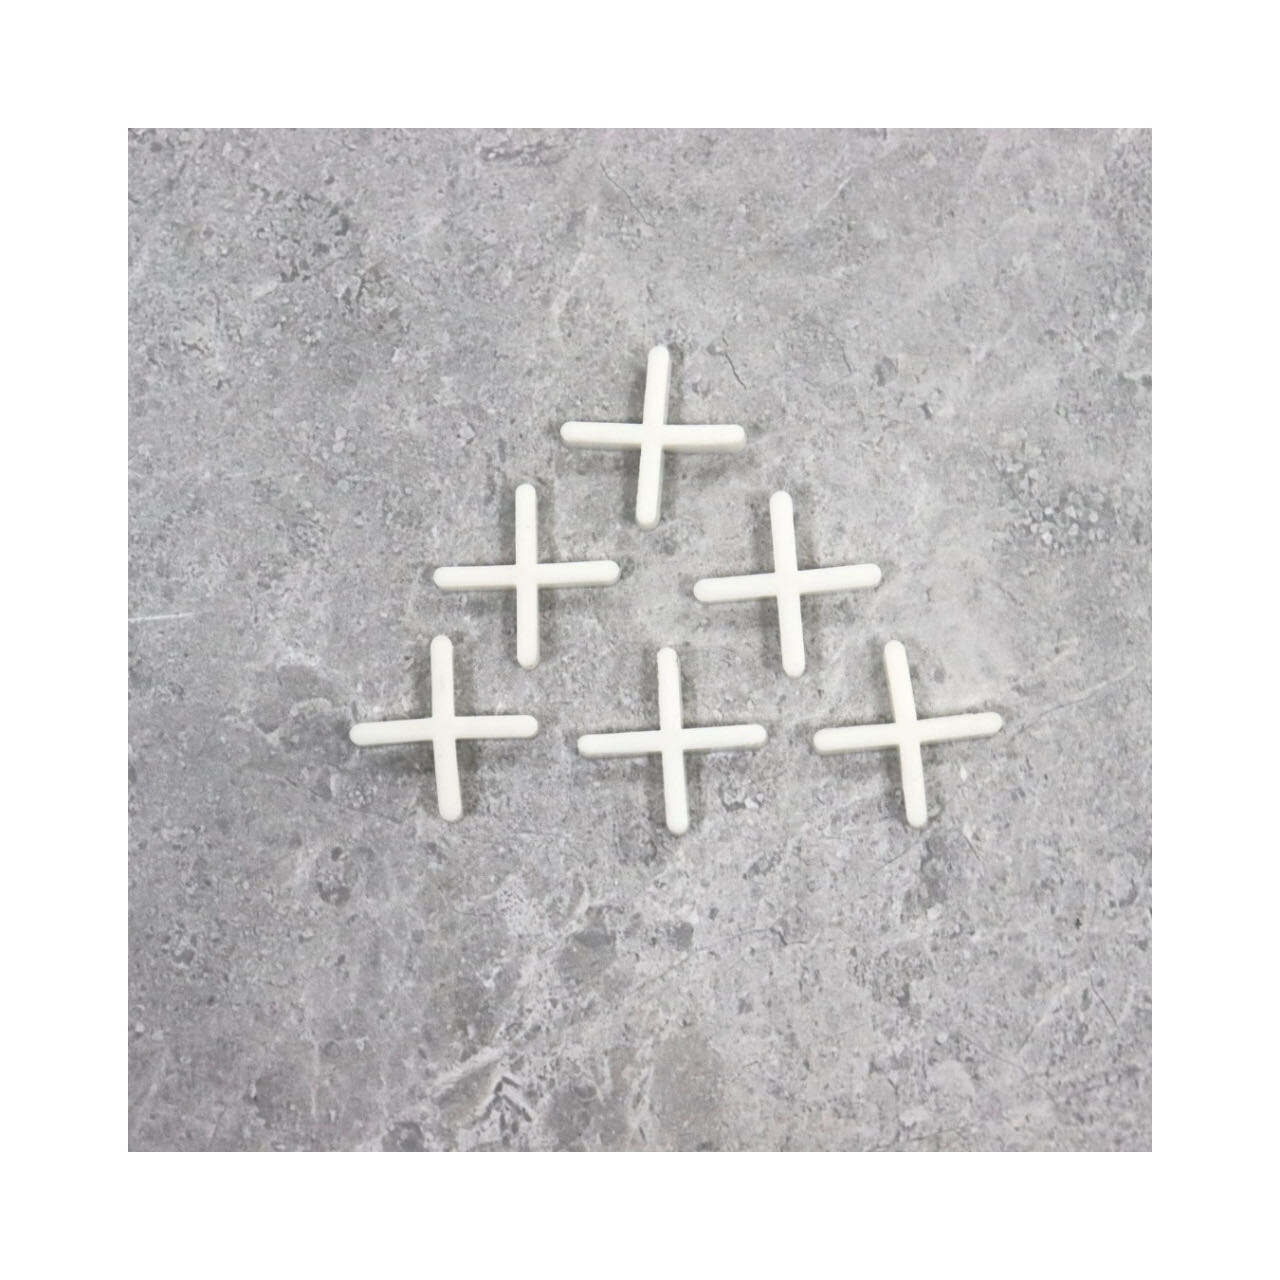
Razmiki za ploščice prihajajo v različnih oblikah in dimenzijah, pri čemer je vsaka oblika namenjena določeni uporabi. Križaste razmike so najpogostejše za standardne postavitve ploščic, medtem ko T-oblikovani razmiki dobro delujejo za robove in vogale sten. Velikosti se običajno gibljejo od 1/16 palca do 1/2 palca, pri čemer sta 1/8 palca in 3/16 palca najbolj priljubljeni za stanovanjske objekte.
Izbira velikosti je odvisna od več dejavnikov, vključno z velikostjo ploščic, materialom in želeno širino fug. Večje ploščice praviloma zahtevajo širše razmake, da se nadomestijo naravne razlike v velikosti in prepreči neenakomerna ravnina. Ploščice iz naravnega kamna morda potrebujejo širše razmake v primerjavi s popolnoma enotnimi porcelanastimi ploščicami zaradi njihovih lastnih nepravilnosti.
Ogled materiala in izbira
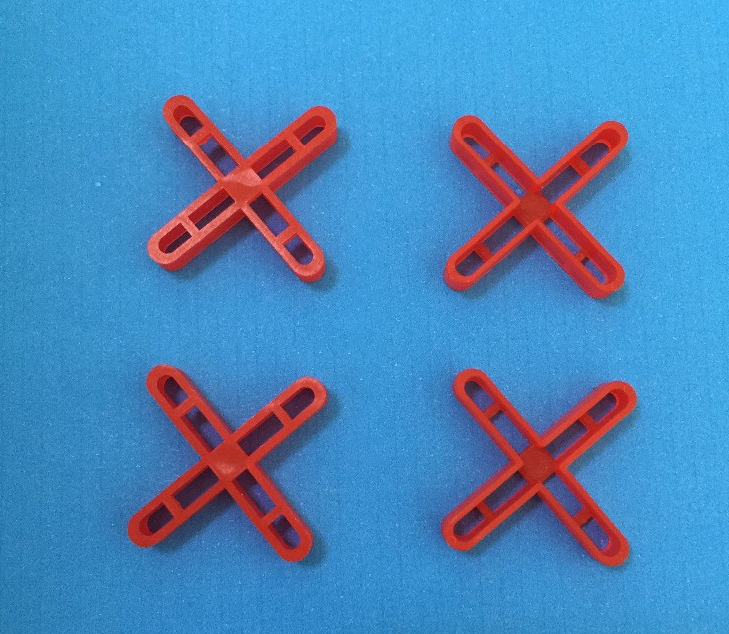
Večina ploščicnih razmikovalnikov je izdelana iz plastične mase, vendar so na voljo tudi kovinski in gumijasti razmikovalniki. Plastični razmikovalniki so cenovno ugodni in primerni za večino aplikacij, medtem ko kovinski ponujajo višjo trdnost za težje ploščice. Gumijasti razmikovalniki so lahko koristni pri občutljivih površinah ploščic, kjer je preprečevanje poškodb ključno.
Izbira materiala mora biti usklajena z zahtevami vašega določenega projekta in okoljskimi pogoji. Za zunanjost ali območja z znatnimi nihanji temperature upoštevajte uporabo vremensko odpornih razmikovalnikov, ki se s časom ne bodo poslabšali in vplivali na polaganje ploščic.
Ključne napake pri namestitvi
Nepravilna postavitev razmikovalnikov
Ena najpogostejših napak je nepravilna postavitev ploščicnih razmikovalnikov. Mnogi jih postavijo naključno ali neenotno, kar vodi do neenakomernih fug. Pravilna postavitev vključuje vstavljanje razmikovalnikov v vsak vogal ploščice, pri večjih ploščicah pa dodatne razmikovalnike vzdolž robov, da se prepreči ukrivljenost ali nepravilno poravnava.
Druga pogosta napaka je uporaba premajhne količine razmikov, zlasti pri ploščicah večjih formatov. Nezadostna podpora lahko povzroči premik ploščic med postopkom montaže, kar povzroči nepravilne razpone, ki postanejo opazni šele po zasihu lepila. Vedno uporabite dovolj razmikov za ohranjanje enakomernih razponov in preprečevanje premikanja.
Težave s časom in odstranjevanjem
Pravi trenutek za odstranitev razmikov je ključnega pomena, vendar se pogosto ravna nepravilno. Če razmake odstranimo prehitro, se lahko ploščice premaknejo, če pa počakamo predolgo, se lahko razmiki zaklenijo v lepilo. Splošno pravilo je, da jih odstranimo takrat, ko je lepilo trdno, vendar še ni popolnoma utrjeno, običajno v roku 20–30 minut po postavitvi.
Nekateri namestitveni delavci naredijo napako, da pustijo razmake na mestu, dokler lepilo popolnoma ne posuši, kar oteži odstranitev in lahko poškoduje namestitev. Drugi jih skušajo odstraniti prehitro, s čimer motijo previdno poravnane ploščice. Ustrezno ravnovesje je bistveno za optimalne rezultate.
Napredne tehnike in najboljše prakse
Profesionalne metode namestitve
Profesionalni pločarji uporabljajo določene tehnike, da maksimalno izkoristijo učinkovitost razmikovalnikov za ploščice. Pogosto delajo po manjših odsekih, pri čemer sistematično postavljajo ploščice in razmikovalnike, da ohranijo popolno poravnavo. Ta metodični pristop omogoča prilagoditve preden se lepilo strdi in zagotavlja enakomeren razmak med ploščicami v celotni površini.
Strokovnjaki priznajo tudi pomembnost uporabe nivelirnih sistemov skupaj z razmikovalniki za ploščice, zlasti pri velikih formatih ploščic. Ti sistemi preprečujejo neenakost robov (lippage) in hkrati ohranjajo pravilen razmak, kar rezultira v popolnoma ravni površini.
Kontrola kakovosti in preverjanje
Redno preverjanje enakomernosti razmika med namestitvijo je nujno. Poklicni montažerji pogosto zamenjajo položaj, da ocenijo splošni vzorec, in uporabljajo merilne orodja za preverjanje enotnega razmika. Prav tako zagotovijo, da so razmikovalniki pravokotni na površino, saj lahko nagnjeni razmikovalniki ustvarijo neenakomerno žlebkanje.
Dokumentacija in načrtovanje sta enako pomembna. Ustvarjanje podrobnega postavitvenega načrta in označevanje referenčnih črt pomaga ohraniti pravilno poravnavo in razmik med ploščicami v celotnem procesu namestitve. Ta sistematični pristop zmanjšuje napake in zagotavlja dosledne rezultate.
Vzdrževanje in dolgoročni vidiki
Negovalna oskrba po namestitvi
Po odstranitvi razmikov za ploščice jih temeljito pregledajte, da se prepričate, da ni ostankov plastičnih delcev. Morebitni preostali koščki lahko vplivajo na oprijem fug in videz. Repe med ploščicami natančno očistite pred fugiranjem, da dosežete najboljše možne rezultate.
Pravilno odstranjevanje uporabljenih razmikov za ploščice je prav tako pomembno. Čeprav jih nekatere razlike mogoče očistiti in ponovno uporabiti, jih večina po enkratni uporabi zavreči, da se prepreči uvedba suhih lepil v nove namestitve. Vedno imajte pri roki sveže razmake za optimalne rezultate.
Prihodnje zahteve glede vzdrževanja
Pravilno izvedena razdalja med ploščicami prispeva k lažji dolgoročni vzdrževanju obloženih površin. Ploščice z ustrezno razmikom omogočajo učinkovito čiščenje in preprečujejo kopičenje vlage, ki bi lahko povzročilo poslabšanje fug ali poškodbe ploščic. Redna preverjanja fug pomagajo prepoznati morebitne težave v zgodnji fazi.
Obravnava okoljske razmere in vzorce uporabe pri načrtovanju urnika za vzdrževanje. Območja z velikim prometom ali zunanjimi instalacijami morda zahtevajo pogostejše preglede in vzdrževanje, da zagotovijo dolgo življenjsko dobo vaše ploščične obloge.
Pogosta vprašanja
Kako dolgo naj ostanejo razmiki med ploščicami na mestu pred odstranitvijo?
Razmiki med ploščicami naj bi po navadi ostali na mestu, dokler lepilo ni trdno, vendar še ni popolnoma utrjeno, kar je ponavadi 20–30 minut po postavitvi ploščic. Čas pa se lahko razlikuje glede na vrsto uporabljenega lepila ter okoljske pogoje, kot sta temperatura in vlažnost.
Ali je mogoče razmike med ploščicami ponovno uporabiti za več projektov?
Čeprav je teoretično mogoče ponovno uporabiti razmikalnike za ploščice, pri profesionalnih namestitvah tega ni priporočljivo. Uporabljeni razmikalniki lahko imajo ostanke lepila ali obrabo, ki bi lahko vplivala na natančnost razmikanja. Za najboljše rezultate uporabite nove razmikalnike za vsak projekt, da zagotovite točno razmikanje in profesionalen izid.
Kakšne velikosti razmakov za ploščice naj uporabim za velike ploščice?
Za velike ploščice (12 palcev ali večje) se običajno priporočajo razmikalniki velikosti 1/8 palca do 3/16 palca. Toda točna velikost je odvisna od dejavnikov, kot so material ploščic, lokacija namestitve in dizajnerske preference. Vedno svetujte s smernicami proizvajalca in lokalnimi gradbenimi predpisi za določene priporočilne.