

Professional tile installation requires precision, skill, and the right tools to achieve flawless results. Among the most critical components for achieving perfectly level surfaces are tile clips and wedges, which have revolutionized modern tiling practices. These specialized leveling systems ensure consistent spacing and eliminate lippage between tiles, creating seamless finishes that meet the highest industry standards. Understanding how to properly utilize tile clips and wedges can transform your installation projects from amateur attempts into professional-grade masterpieces.
The evolution of tile installation techniques has brought forth innovative solutions that address common challenges faced by contractors and DIY enthusiasts alike. Traditional methods often resulted in uneven surfaces, inconsistent grout lines, and time-consuming adjustments that could compromise project timelines. Modern tile clips and wedges have emerged as game-changing tools that streamline the installation process while ensuring superior results. These systems work by creating uniform pressure across tile surfaces, preventing movement during the curing process and maintaining perfect alignment throughout the installation.
Understanding Tile Leveling System Components
Essential Parts of Professional Leveling Systems
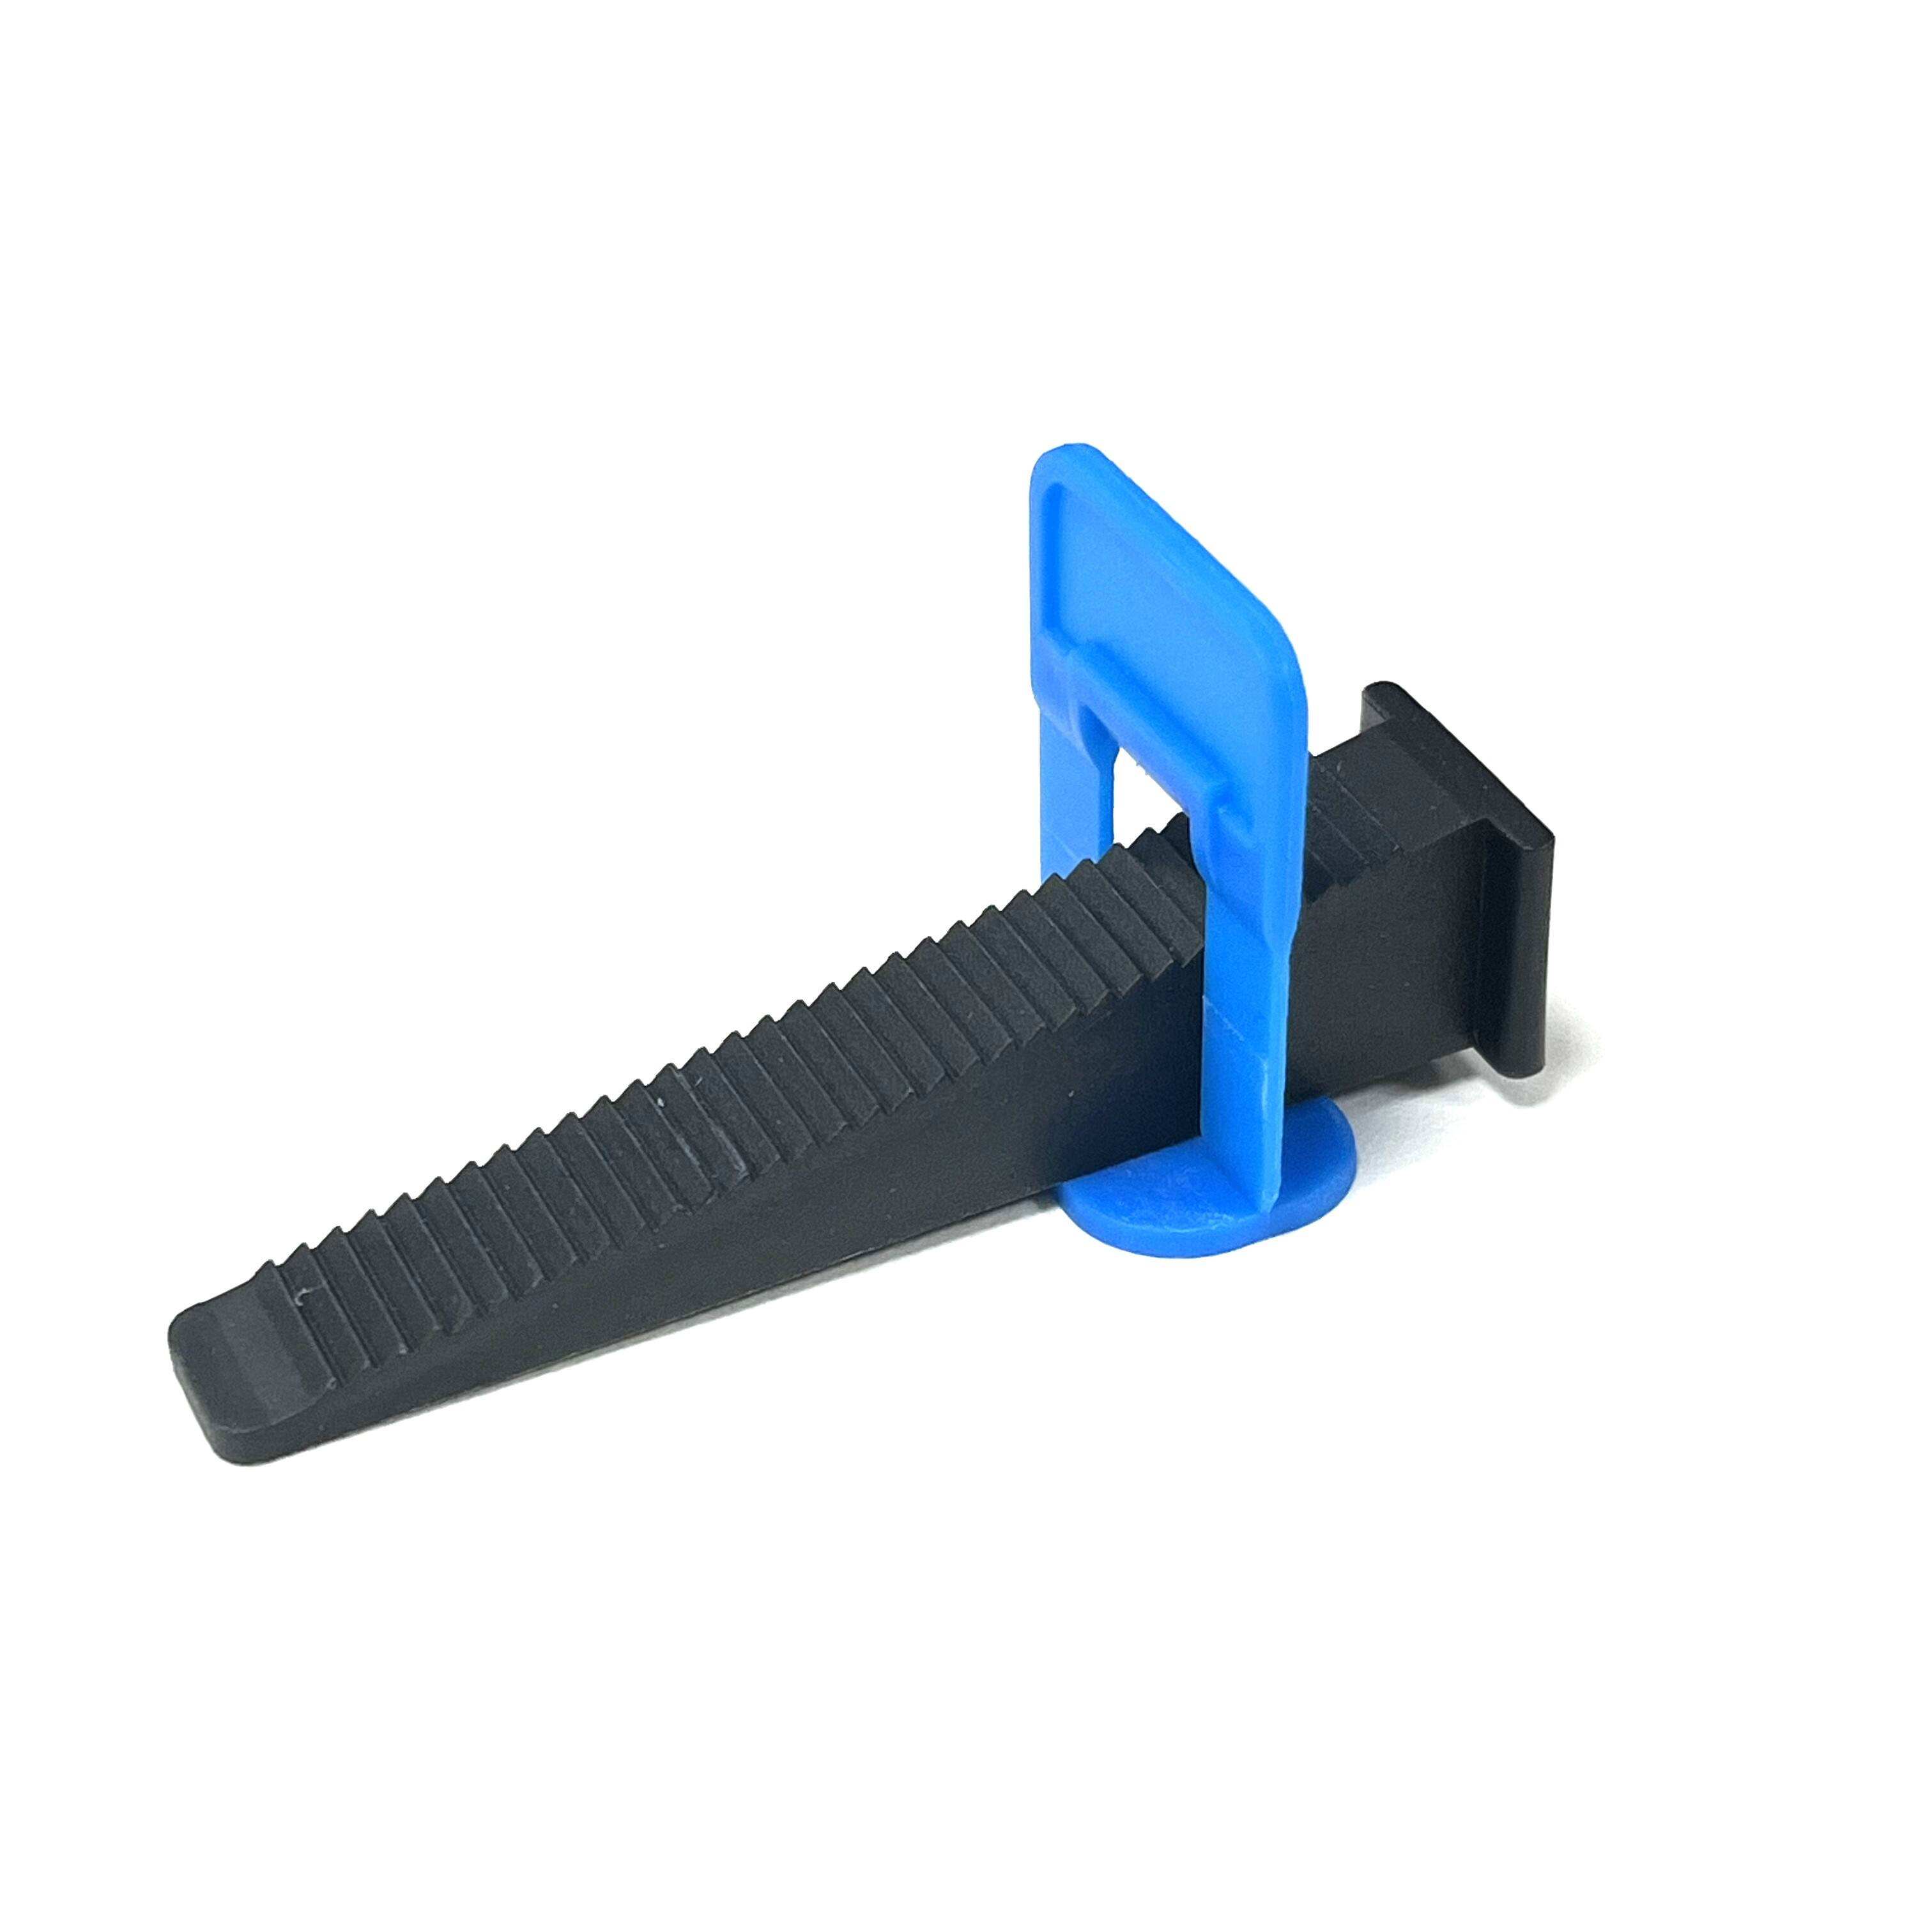
A comprehensive tile leveling system consists of several key components that work together to create perfectly level installations. The primary elements include base clips, wedges, and specialized pliers designed for efficient installation and removal. Base clips serve as the foundation of the system, sliding underneath adjacent tiles to create a stable platform for leveling adjustments. These clips are typically made from durable plastic materials that can withstand the pressures of installation while remaining easy to remove once the adhesive has cured.
Wedges represent the adjustable component of tile clips and wedges systems, allowing installers to fine-tune the height and alignment of individual tiles. These precision-engineered pieces slide into the base clips and can be adjusted to accommodate slight variations in substrate conditions or tile thickness. The wedge design ensures even pressure distribution across tile surfaces, preventing cracking or damage during the leveling process. Quality wedges feature ergonomic designs that facilitate easy insertion and adjustment, even in tight spaces or challenging installation conditions.
Material Quality and Durability Considerations
The effectiveness of tile clips and wedges largely depends on the quality of materials used in their construction. High-grade plastic polymers provide the ideal combination of strength, flexibility, and chemical resistance required for professional installations. These materials must withstand exposure to various adhesives, moisture conditions, and mechanical stresses without degrading or compromising the leveling system's performance. Premium systems often feature reinforced stress points and optimized geometries that enhance durability and reliability.
Color-coding systems have become increasingly popular among professional installers, allowing for easy identification of different clip sizes and applications. This visual organization system reduces installation errors and improves efficiency on job sites where multiple tile formats are being installed simultaneously. Quality manufacturers also incorporate UV-resistant additives to prevent degradation from sunlight exposure during outdoor installations or storage periods. The longevity of these materials directly impacts project success and installer satisfaction.
Proper Installation Techniques and Best Practices
Surface Preparation and Planning Strategies
Successful implementation of tile clips and wedges begins with thorough surface preparation and strategic planning. The substrate must be clean, level, and free from debris that could interfere with proper clip placement or tile adhesion. Any significant irregularities should be addressed before beginning the installation, as leveling systems are designed to handle minor variations rather than major substrate defects. Proper planning includes determining clip spacing patterns, calculating required quantities, and establishing reference lines for consistent alignment.
Temperature and humidity conditions play crucial roles in the effectiveness of tile clips and wedges during installation. Extreme temperatures can affect adhesive working times and the flexibility of plastic components, potentially compromising system performance. Ideal installation conditions typically range between 65-75 degrees Fahrenheit with moderate humidity levels. Installers should also consider the specific requirements of the adhesive being used, as different formulations may have varying sensitivities to environmental conditions that could impact leveling system effectiveness.
Step-by-Step Installation Methodology
The installation process for tile clips and wedges follows a systematic approach that ensures optimal results when properly executed. Begin by applying adhesive to the substrate using appropriate trowel techniques, creating uniform ridges that will support the tiles and accommodate the base clips. Position the first tile carefully, ensuring proper alignment with established reference lines and checking for level using appropriate measuring tools. Insert base clips at predetermined spacing intervals, typically placing them at corners and midpoints of tile edges depending on tile size and project specifications.
Once base clips are positioned, place adjacent tiles while ensuring the clips extend beneath both tile edges. Insert wedges into the base clips and tighten gradually using the specialized pliers, applying even pressure to achieve level alignment. The tile clips and wedges should create firm contact between tiles without over-tightening, which could cause damage or stress concentrations. Continue this process systematically across the installation area, maintaining consistent spacing and checking alignment regularly with straightedges and levels.
Troubleshooting Common Installation Challenges
Addressing Lippage and Alignment Issues
Lippage represents one of the most common challenges in tile installation, occurring when adjacent tiles are not perfectly aligned, creating raised edges or uneven surfaces. Tile clips and wedges are specifically designed to eliminate this problem by maintaining consistent pressure and alignment throughout the curing process. When lippage issues arise, they often indicate problems with substrate preparation, adhesive application, or improper use of the leveling system. Identifying the root cause is essential for implementing effective corrective measures.
Effective lippage correction requires systematic evaluation of each tile's position and adjustment of the wedge tension accordingly. Tiles that are sitting too high may need reduced adhesive beneath them or adjustment of the wedge pressure. Conversely, tiles that are too low might require additional adhesive or repositioning of the base clips. The flexibility of tile clips and wedges allows for real-time adjustments during the installation process, provided the adhesive has not begun to set. Regular monitoring and adjustment ensure optimal results and prevent costly corrections later in the project.
Managing Complex Layout Patterns and Transitions
Complex tile patterns and transition areas present unique challenges that require modified approaches to tile clips and wedges implementation. Diagonal patterns, herringbone layouts, and mixed-format installations may require specialized clip placement strategies to accommodate varying angles and spacing requirements. Understanding how to adapt standard leveling techniques for these applications is crucial for maintaining professional results across diverse project types.
Transition areas between different flooring materials or tile formats require careful attention to ensure smooth, professional appearances. Tile clips and wedges can be effectively used in these areas by modifying clip placement and using appropriate transition strips or profiles. The key is maintaining consistent heights and smooth transitions while accommodating the mechanical requirements of each material type. Proper planning and execution in these critical areas often distinguish professional installations from amateur attempts.
Maximizing Efficiency and Cost-effectiveness
Time-saving Strategies for Large Projects
Large-scale tile installations benefit significantly from optimized use of tile clips and wedges, particularly when systematic approaches are implemented to maximize efficiency. Batch processing techniques allow installers to work on multiple areas simultaneously, placing clips and wedges in sequence rather than completing one tile at a time. This approach reduces overall installation time while maintaining quality standards. Pre-planning clip placement patterns and quantities ensures adequate supplies are available and reduces interruptions during critical installation phases.
Team coordination becomes increasingly important on larger projects where multiple installers are working with tile clips and wedges simultaneously. Establishing consistent techniques and quality standards ensures uniform results across the entire installation. Communication protocols should include regular quality checks and coordination of material usage to prevent shortages or delays. Effective project management combined with proper use of leveling systems can significantly reduce overall project timelines while maintaining superior quality standards.
Cost Analysis and Return on Investment
The initial investment in quality tile clips and wedges systems is quickly offset by the time savings and quality improvements they provide. Reduced callback visits for lippage corrections and customer complaints translate directly to improved profitability and enhanced reputation. The consistency achieved with leveling systems also reduces waste from damaged or improperly installed tiles, further improving project economics. Professional contractors often find that the use of these systems allows them to command premium pricing for superior installation quality.
Long-term benefits of using tile clips and wedges extend beyond individual projects to overall business growth and customer satisfaction. Installations completed with proper leveling systems typically require less maintenance and demonstrate superior longevity compared to traditional methods. This reputation for quality work leads to increased referral business and opportunities for larger, more profitable projects. The investment in quality tools and techniques pays dividends through enhanced professional standing and business growth opportunities.
Advanced Applications and Specialized Uses
Large Format Tile Installation Techniques
Large format tiles present unique challenges that make tile clips and wedges particularly valuable for achieving professional results. The increased surface area and weight of these tiles amplify any substrate irregularities or installation inconsistencies, making precise leveling crucial for success. Standard leveling techniques must be modified to accommodate the mechanical requirements and handling considerations of large format materials. Proper clip spacing becomes even more critical to ensure adequate support and prevent tile movement during curing.
The flexibility of modern tile clips and wedges systems allows for effective use with tiles exceeding 24 inches in any dimension. However, installation techniques must be adjusted to account for the increased leverage and potential for movement in these large tiles. Additional clips may be required at closer spacing intervals, and wedge adjustment must be performed more gradually to prevent stress concentrations. Understanding these modifications is essential for contractors working with contemporary large format tile trends.
Outdoor and Wet Area Applications
Outdoor installations and wet area applications require special consideration when using tile clips and wedges due to environmental factors that can affect system performance. Temperature fluctuations, moisture exposure, and freeze-thaw cycles present challenges that must be addressed through proper material selection and installation techniques. Quality leveling systems designed for these applications feature enhanced durability and chemical resistance to withstand harsh environmental conditions.
Drainage considerations become particularly important when using tile clips and wedges in wet areas such as showers, pool decks, or outdoor patios. Proper slope maintenance and waterproofing integration require careful attention to clip placement and removal timing. The leveling system must not interfere with drainage function while still providing the precision alignment necessary for professional results. Understanding these specialized requirements is crucial for expanding service capabilities into these lucrative market segments.
Maintenance and Quality Assurance
Post-Installation Inspection and Clip Removal
Proper timing for clip removal is critical to the success of tile clips and wedges systems and requires careful attention to adhesive curing schedules. Premature removal can allow tile movement and compromise the leveling achieved during installation. Conversely, delayed removal may make clip extraction more difficult and could potentially damage tile edges or grout lines. Most systems are designed for removal within 12-24 hours after installation, but specific timing should be adjusted based on adhesive type, environmental conditions, and manufacturer recommendations.
The clip removal process should be performed systematically to ensure all components are properly extracted without damaging the installation. Specialized pliers designed for clip removal make this process more efficient and reduce the risk of tile damage. After removal, the installation should be inspected for any remaining debris or adhesive residue that could interfere with grouting operations. Quality assurance procedures should include verification of level alignment and proper spacing before proceeding with finishing work.
Long-term Performance Monitoring
Long-term performance of installations completed with tile clips and wedges typically exceeds that of traditional methods when proper techniques are employed. Regular inspection schedules can help identify any potential issues before they become significant problems. Monitoring should focus on grout line integrity, tile alignment stability, and overall surface condition. The superior initial installation quality achieved with leveling systems generally translates to reduced maintenance requirements and extended service life.
Documentation of installation techniques and materials used provides valuable information for future maintenance or renovation work. Recording specific details about tile clips and wedges usage, including spacing patterns and timing, creates a reference for quality assurance and warranty purposes. This documentation also serves as a valuable training tool for expanding installation capabilities and maintaining consistent quality standards across all projects.
FAQ
What is the recommended spacing for tile clips and wedges during installation
The optimal spacing for tile clips and wedges typically depends on tile size and installation conditions, but general guidelines suggest placing clips at 12-18 inch intervals along tile edges for standard residential applications. For larger format tiles or commercial installations, closer spacing of 8-12 inches may be necessary to ensure adequate support and leveling control. Always consult manufacturer specifications and adjust spacing based on specific project requirements and substrate conditions.
How long should I wait before removing the clips after installation
Clip removal timing is crucial and typically occurs 12-24 hours after installation, depending on adhesive type and environmental conditions. Fast-setting adhesives may allow earlier removal, while slower-curing products may require extended time periods. Temperature and humidity affect curing rates, so monitor adhesive manufacturer recommendations and adjust timing accordingly. The adhesive should be sufficiently cured to prevent tile movement but not so hard that clip removal becomes difficult.
Can tile clips and wedges be reused for multiple projects
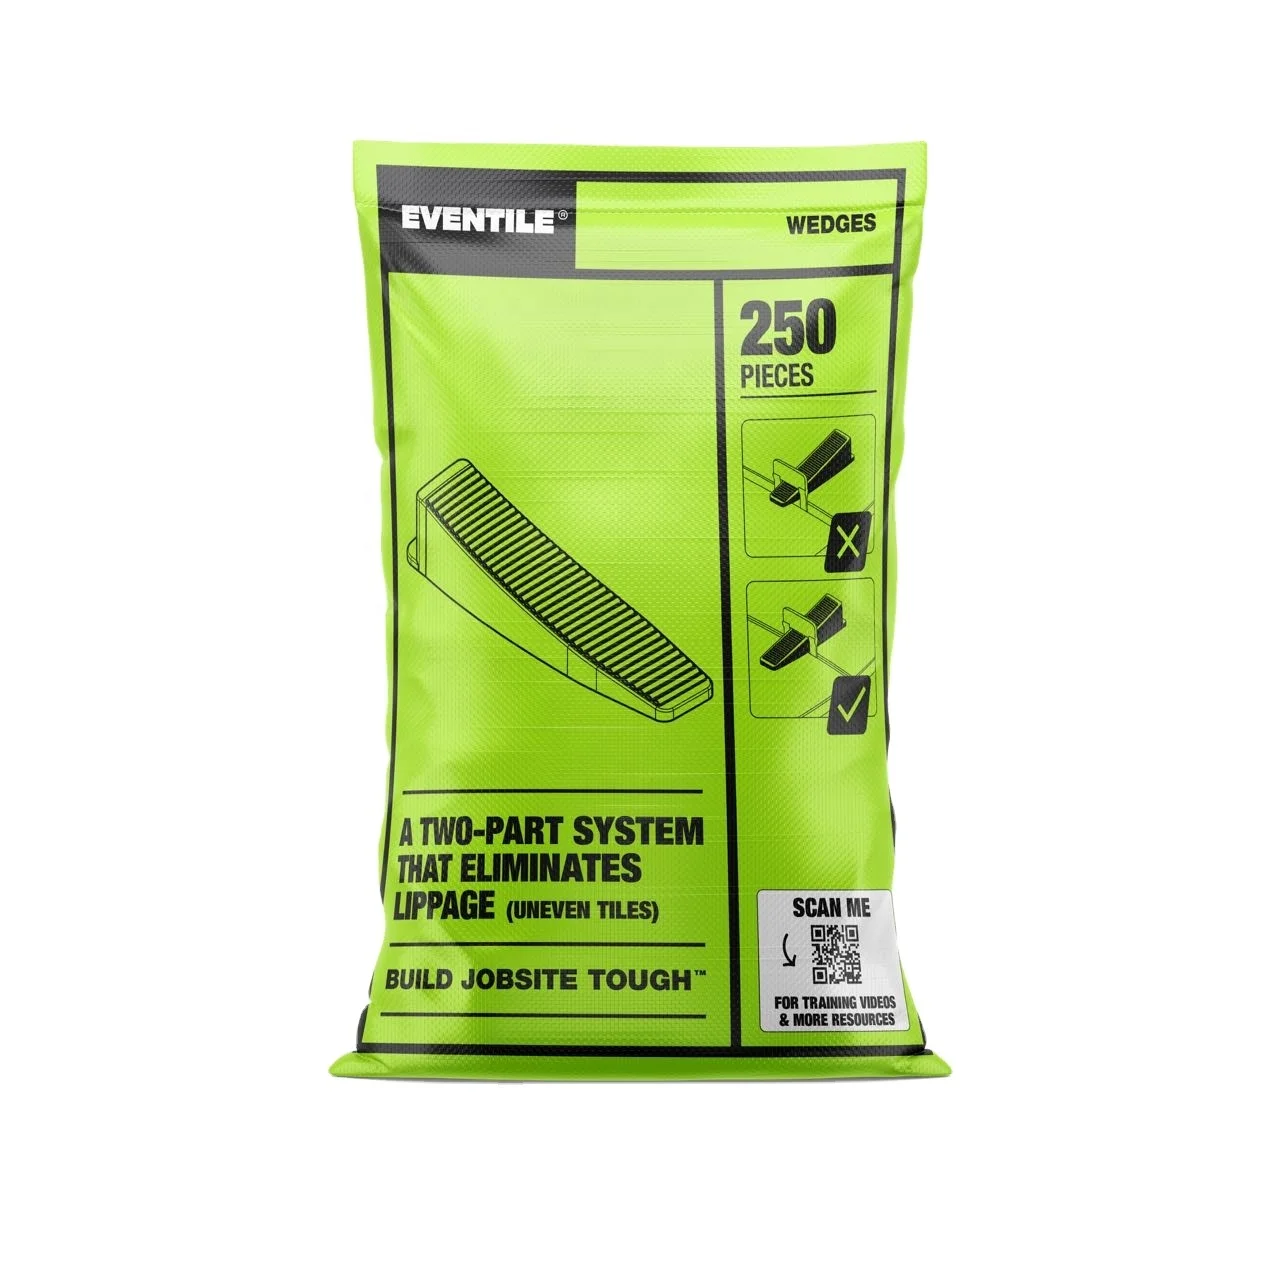
While base clips are typically single-use items that break away during removal, wedges can often be reused multiple times if they remain undamaged during the removal process. Quality wedges are designed for multiple uses and represent a cost-effective investment for professional installers. However, inspect each component carefully before reuse to ensure structural integrity and proper function. Damaged or worn components should be discarded to maintain installation quality and system reliability.
What tile sizes work best with standard leveling systems
Standard tile clips and wedges systems are compatible with most tile sizes ranging from 12x12 inches up to large format tiles exceeding 36 inches. The key consideration is tile thickness, which typically should be between 3mm and 20mm for optimal system performance. Very thin tiles or extremely thick materials may require specialized clips or modified installation techniques. Always verify compatibility with your specific tile specifications before beginning installation to ensure proper system function and professional results.