

Mastering Professional-Grade Tile Layout with Proper Spacing Tools
The secret to achieving a flawless tile installation lies in the details, and one of the most crucial yet often overlooked tools is the humble tile spacer. These small plastic crosses and T-shaped pieces play an instrumental role in creating perfectly aligned tiles with consistent grout lines. Whether you're renovating your bathroom, upgrading your kitchen backsplash, or installing new flooring, understanding how to properly use tile spacers can transform your DIY project from amateur to professional-grade results.
Professional tilers know that precise spacing isn't just about aesthetics - it's fundamental to the structural integrity and longevity of your tiled surface. Using tile spacers correctly ensures proper expansion joints, prevents lippage, and creates the clean, uniform look that distinguishes expert installations from DIY attempts. Let's dive deep into the essential techniques and insider knowledge that will help you achieve professional results in your next tiling project.
Essential Types of Tile Spacers and Their Applications
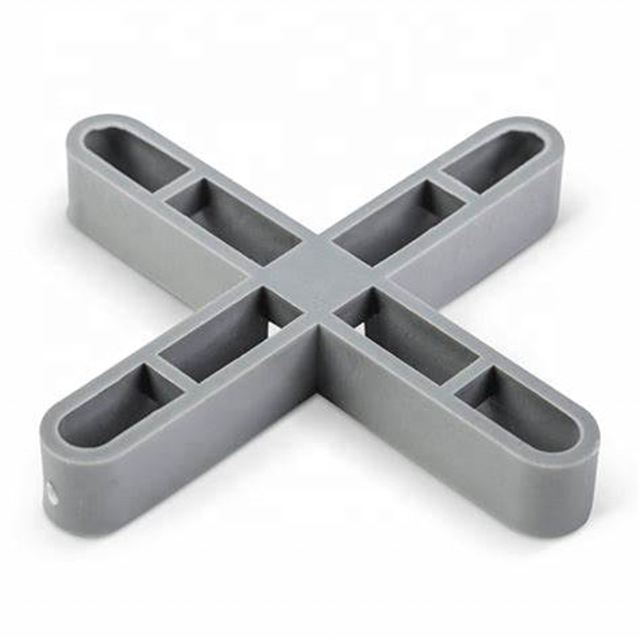
Cross-Shaped Spacers for Versatile Installation
Cross-shaped tile spacers are the most commonly used variety, featuring four protruding arms that create consistent spacing between four tiles at once. These versatile tools come in various thicknesses, typically ranging from 1/16 inch to 1/2 inch, making them suitable for different tile sizes and styles. For standard wall tiles, 1/8-inch spacers often provide the ideal balance, while larger floor tiles might require 3/16-inch or 1/4-inch spacers for proportional grout lines.
When working with cross-shaped spacers, position them at the corners where four tiles meet. This placement ensures maximum stability and alignment control. Remember to insert them fully so they sit flush with the tile surface, preventing any tilting or misalignment during the setting process.
T-Shaped Spacers for Edges and Corners
T-shaped tile spacers are essential for maintaining consistent spacing along walls, corners, and edges where you can't use traditional cross spacers. These specialized tools ensure your border tiles maintain the same precise spacing as the rest of your installation. They're particularly valuable when working with complex patterns or when installing tiles in confined spaces.
For optimal results, place T-shaped spacers with the stem against the wall and the cross section between two tiles. This technique maintains proper alignment while allowing for expansion joints along the perimeter. Always keep extra T-shaped spacers on hand, as they're crucial for achieving professional-looking results in these challenging areas.
Proper Spacing Techniques for Different Tile Types
Natural Stone Tile Considerations
Natural stone tiles require special attention when it comes to spacing. Due to their natural variations in size and texture, using tile spacers becomes even more critical. For marble, granite, or slate installations, opt for slightly wider spacing (typically 1/8 inch to 3/16 inch) to accommodate these variations and create a more forgiving installation.
When working with natural stone, place tile spacers carefully to avoid chipping or damaging the edges. The irregular nature of natural stone means you'll need to pay extra attention to maintaining consistent spacing throughout the installation. Consider using leveling spacers in conjunction with regular spacers to prevent lippage in larger format stone tiles.
Ceramic and Porcelain Tile Requirements
Ceramic and porcelain tiles typically offer more uniform dimensions, allowing for tighter spacing if desired. However, the size of the tile should influence your spacer selection. For larger format tiles, wider spacing helps prevent cracking and allows for proper movement. A general rule of thumb is to use spacers that are at least 1/8 inch for floor tiles and slightly smaller for wall applications.
Modern rectified tiles, which are precisely cut to exact dimensions, can be installed with minimal spacing, but experts still recommend using at least 1/16-inch spacers to allow for proper grout application and subtle movement. Remember that too-tight spacing can lead to potential issues with expansion and contraction over time.
Advanced Installation Tips and Best Practices
Proper Spacer Removal Techniques
Timing is crucial when removing tile spacers. The general rule is to wait until the mortar has set enough to hold the tiles firmly in place but before it has fully cured. This usually means waiting about 20-30 minutes after setting the tiles. Remove spacers by pulling them straight up or out, being careful not to twist or angle them, which could disturb the tile positioning.
For particularly tight installations or when working with delicate tiles, consider using pliers with rubber-coated tips to grip and remove spacers without damaging the tile edges. Always remove spacers before the mortar fully cures, as leaving them in place can compromise the integrity of your grout lines and potentially lead to cracking.
Managing Spacer Placement in Complex Patterns
When installing complex patterns like herringbone or basketweave designs, strategic spacer placement becomes even more critical. Start by dry-laying your pattern and marking reference lines, then place spacers at key intersections to maintain consistent alignment throughout the pattern. For intricate designs, consider using a combination of different spacer types to ensure proper spacing in all directions.
Professional installers often use additional spacers in the middle of larger tiles when working with complex patterns to prevent shifting during installation. This extra support helps maintain perfect alignment until the mortar sets. Remember to adjust spacer placement as needed to accommodate any pattern variations or cuts around obstacles.
Common Spacing Challenges and Solutions
Dealing with Uneven Surfaces
Uneven substrates can complicate proper spacer usage and tile alignment. Before beginning installation, ensure your surface is properly prepared and as level as possible. When working on slightly uneven surfaces, consider using leveling spacers in addition to regular spacing tools. These specialized systems can help prevent lippage and ensure a flat finished surface.
For significantly uneven areas, you may need to build up low spots with mortar or use a self-leveling compound before beginning tile installation. This preparation step is crucial for maintaining consistent spacing and achieving professional results. Remember that no amount of careful spacing can compensate for a poorly prepared substrate.
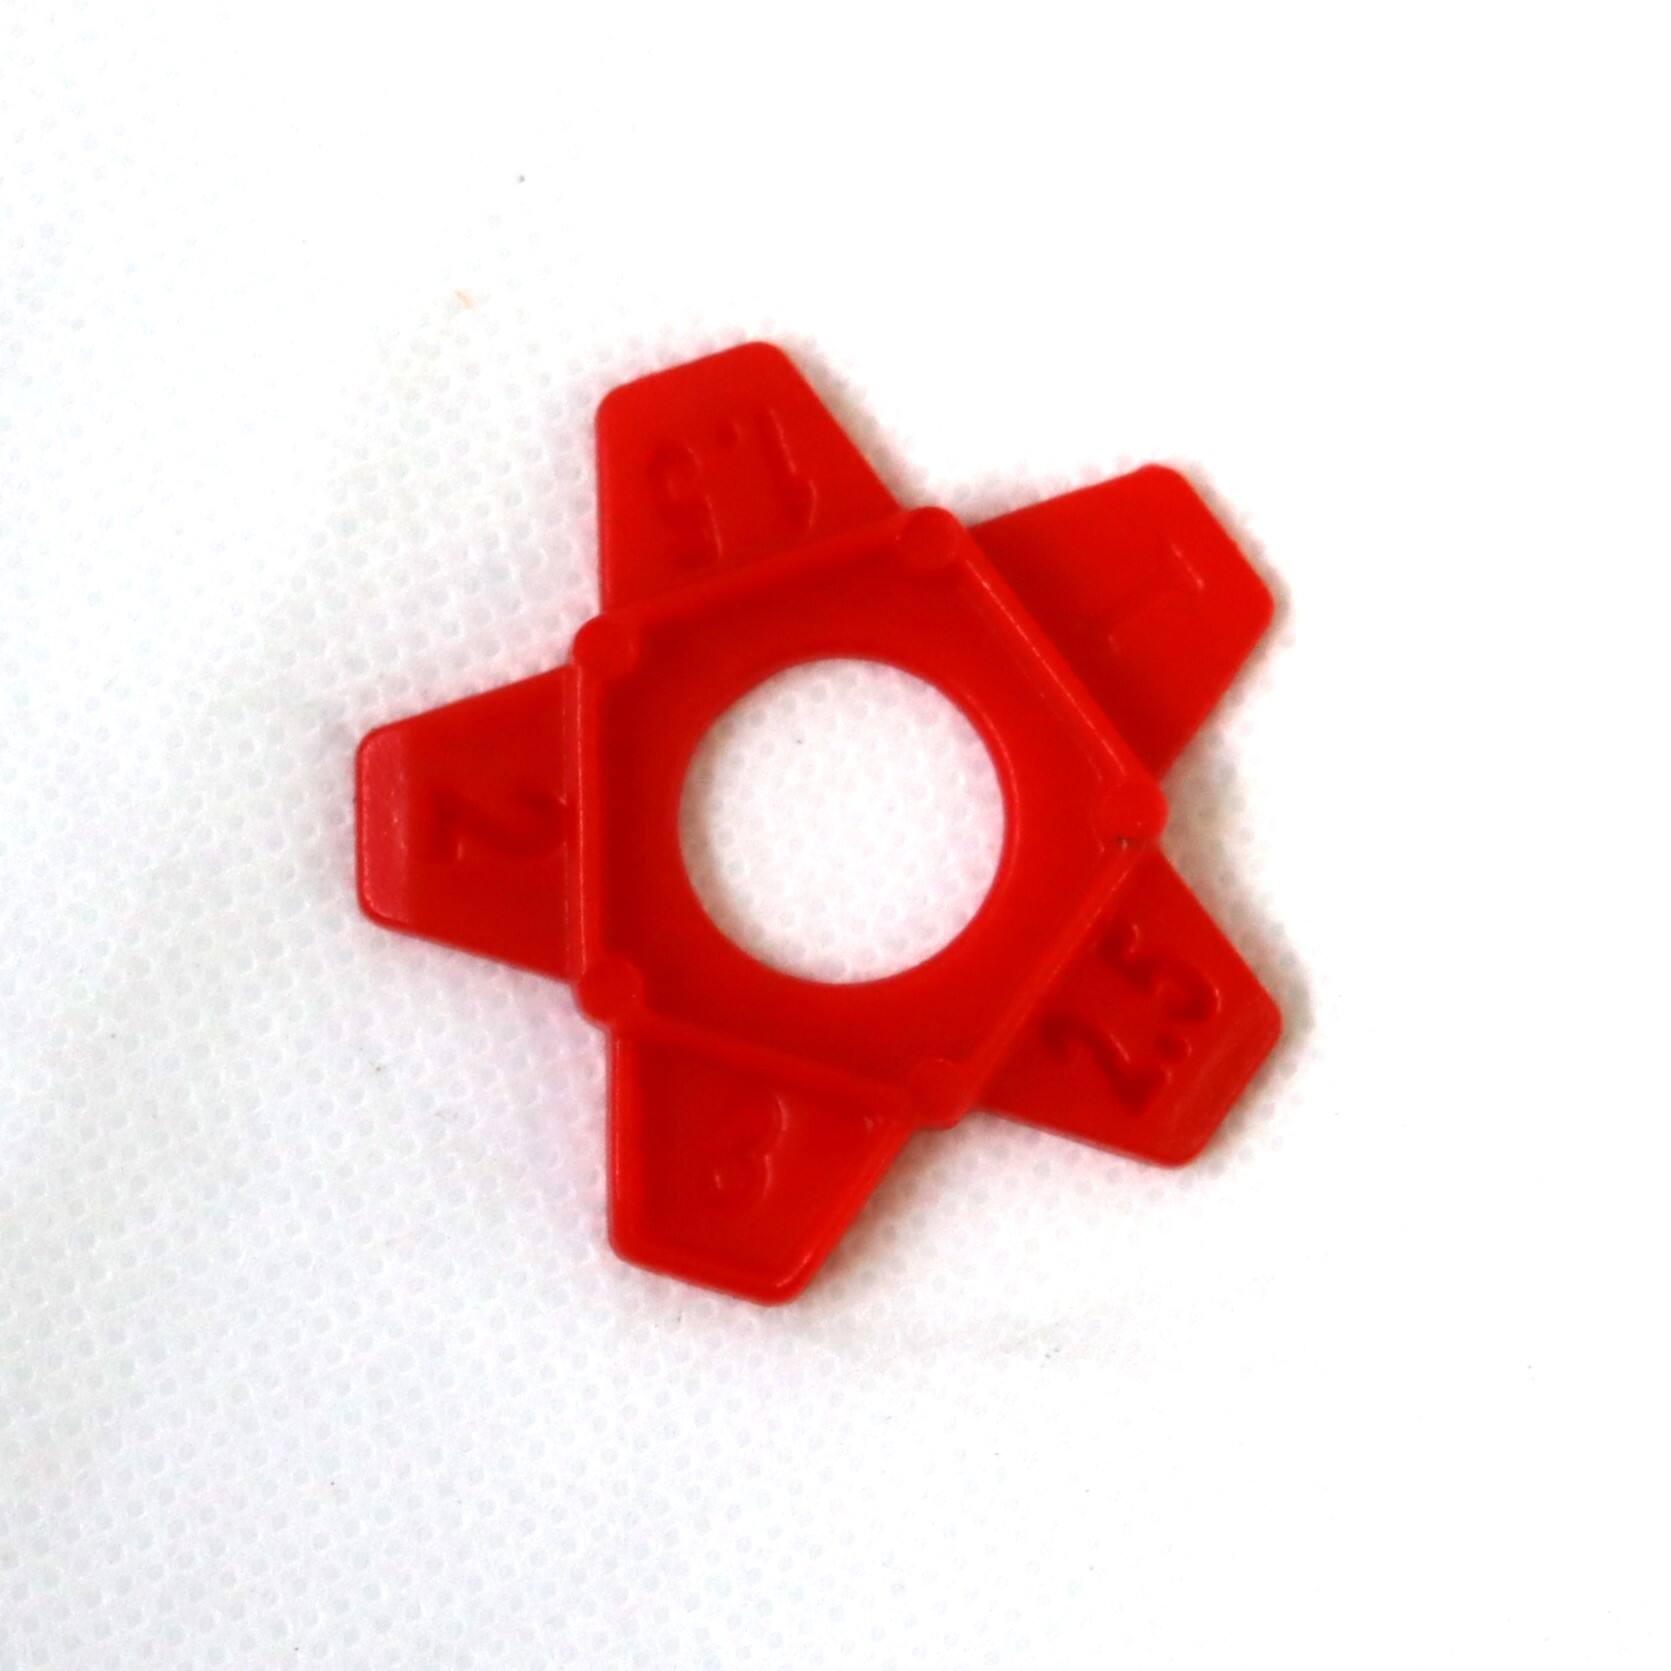
Adjusting for Tile Size Variations
Even manufactured tiles can have slight size variations, particularly in lower-grade products. When working with tiles that show size inconsistencies, use spacers as guides but be prepared to make minor adjustments. Keep a selection of different sized spacers on hand to accommodate these variations while maintaining a visually consistent appearance.
For installations with noticeable size variations, consider starting from the center of the space and working outward, adjusting spacing slightly as needed to maintain symmetric grout lines. This approach helps distribute any inconsistencies evenly across the installation, making them less noticeable in the finished project.
Frequently Asked Questions
How Long Should Tile Spacers Stay in Place?
Tile spacers should remain in place until the mortar has partially set but not fully cured, typically 20-30 minutes after tile placement. However, they must be removed before the mortar completely hardens, usually within a few hours of installation. Never leave spacers in place permanently, as this can compromise the integrity of your grout lines.
Can I Reuse Tile Spacers?
While tile spacers can technically be reused if they're in good condition, it's generally not recommended for professional installations. Used spacers may have mortar residue or slight deformations that could affect spacing accuracy. For best results, use new spacers for each project to ensure consistent spacing and professional results.
What Size Tile Spacers Should I Use for Large Format Tiles?
For large format tiles (tiles larger than 12x12 inches), use spacers that are at least 1/8 inch, preferably 3/16 inch or 1/4 inch. Larger tiles require wider grout lines to accommodate natural movement and prevent cracking. The general rule is that grout line width should increase proportionally with tile size.
Should I Use Different Size Spacers for Wall and Floor Tiles?
Yes, wall and floor tiles often require different spacer sizes. Floor tiles typically need wider spacing (1/8 inch to 1/4 inch) to handle weight and movement, while wall tiles can use narrower spacing (1/16 inch to 1/8 inch). However, always consult your tile manufacturer's recommendations, as specific products may have different requirements.