


Achieving Perfect Tile Alignment with Professional Spacing Tools
Creating a flawless tiled surface requires precision, patience, and the right tools. At the heart of professional tile installation lies one seemingly simple but crucial component: tile spacers. These small plastic or rubber crosses make the difference between an amateur-looking project and a masterpiece worthy of a professional showroom. Whether you're renovating your bathroom, upgrading your kitchen backsplash, or installing a new floor, understanding how to properly use tile spacers will ensure consistent grout lines and a stunning end result.
Essential Types of Tile Spacers and Their Applications
Cross and T-Shaped Spacers
Cross-shaped tile spacers are the most commonly used variety, designed for installing tiles where four corners meet. These versatile tools ensure equal spacing between tiles in both horizontal and vertical directions. The prongs of the cross maintain consistent spacing on all four sides of the tile, making them ideal for standard grid patterns.
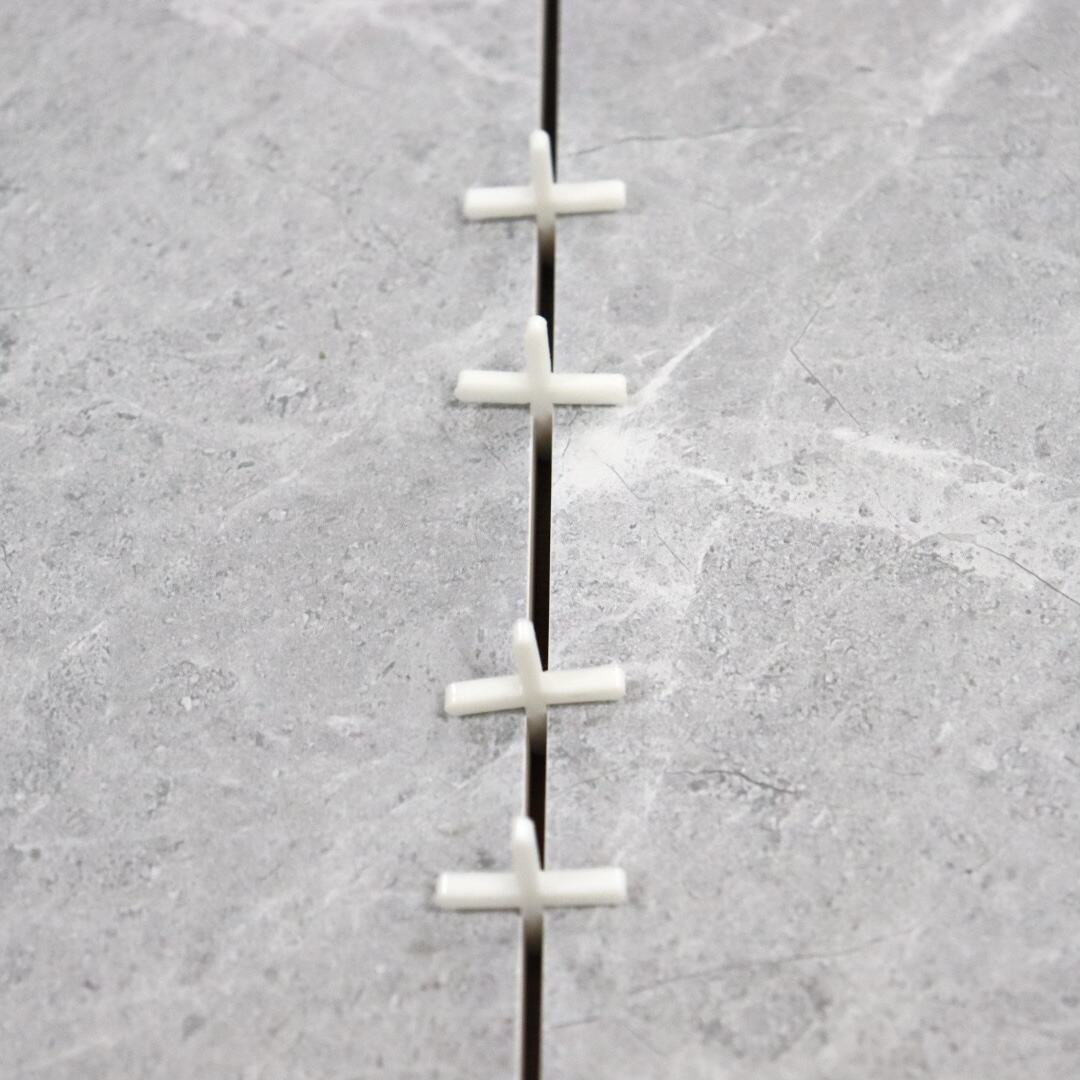
T-shaped spacers, on the other hand, are specifically designed for tile edges and borders. They're particularly useful when working along walls or creating decorative borders where you need spacing on only three sides of the tile. These spacers help maintain proper alignment while preventing tiles from sliding out of position during installation.
Leveling Spacers and Systems
Modern tile installation has been revolutionized by leveling spacer systems. These advanced tools combine traditional spacing functionality with built-in leveling capabilities. The system typically consists of a base piece that sits under the tile edges and a cap that clips on top, creating even spacing while simultaneously ensuring tiles remain perfectly level with adjacent pieces.
Leveling spacers are especially valuable when working with large format tiles, where even minor lippage (height differences between adjacent tiles) can be particularly noticeable. They help prevent the common problem of tiles settling unevenly in the mortar, resulting in a perfectly flat surface that professionals strive to achieve.
Proper Tile Spacer Placement Techniques
Corner and Edge Positioning
Correct placement of tile spacers begins at the corners. Insert spacers at each corner where tiles meet, ensuring they're pushed in far enough to maintain position but can still be removed after the mortar sets. For edge installations, place spacers at regular intervals along the tile sides to prevent any shifting or movement during the setting process.
When working with larger tiles, additional spacers may be needed along the edges to prevent sagging or lippage. A good rule of thumb is to place spacers every 12 inches along the edges of large format tiles to maintain consistent spacing throughout the installation.
Working with Different Tile Sizes
The approach to spacer placement varies depending on tile size. Small format tiles (under 4 inches) typically require spacers at every corner, while larger tiles might need additional support along their edges. When working with mosaic sheets, spacers can be used at the sheet corners to ensure proper alignment with adjacent sheets.
For rectangular tiles installed in patterns like running bond or herringbone, careful attention must be paid to spacer placement at the offset points. This ensures consistent grout lines and prevents pattern distortion that could compromise the overall design.
Selecting the Right Spacer Size
Standard Spacing Measurements
Tile spacers come in various sizes, typically ranging from 1/16 inch to 1/2 inch. The most common sizes for interior installations are 1/8 inch and 3/16 inch. These sizes create grout lines that are wide enough to be functional while maintaining a clean, professional appearance. The choice of spacer size often depends on the tile type, location, and desired aesthetic.
Smaller spacers (1/16 inch to 1/8 inch) are often used for wall tiles and precise installations like backsplashes, while larger spacers (3/16 inch to 1/4 inch) are commonly used for floor tiles where more substantial grout lines can help accommodate slight variations in tile size and installation surface.
Design Considerations and Industry Standards
The selection of spacer size should take into account both aesthetic preferences and practical considerations. Larger grout lines created by wider spacers can help rooms appear more proportionate and can be particularly effective with natural stone tiles that have irregular edges. Smaller grout lines achieved with narrow spacers create a more seamless look, popular in modern designs.
Industry standards recommend different spacer sizes based on tile type and installation location. For example, polished porcelain tiles often work best with minimal spacing, while natural stone tiles typically require wider grout lines to accommodate their natural variations.
Common Mistakes to Avoid
Installation Errors and Solutions
One frequent mistake is removing tile spacers too early. The mortar needs adequate time to set before spacers can be safely removed. Premature removal can cause tiles to shift, resulting in uneven grout lines. Wait at least 24 hours after installation before carefully removing spacers.
Another common error is using too few spacers, especially with larger tiles. This can lead to uneven spacing and lippage. Always use enough spacers to support the tiles properly and maintain consistent spacing throughout the installation.
Maintenance and Cleanup Considerations
Leaving spacers in place too long can make them difficult to remove and may require breaking them off below the surface. This can create voids in the grout lines and compromise the installation's integrity. Always remove spacers before the mortar fully cures but after it's set enough to hold tiles in place.
Clean any mortar that squeezes up between the tiles before it hardens, as this can make spacer removal challenging and potentially damage the tile edges during removal attempts.
Frequently Asked Questions
How long should tile spacers stay in place?
Tile spacers should remain in place for 20-30 minutes after setting the tiles, or until the mortar has begun to set but isn't fully cured. This typically means leaving them in place for several hours, but they should be removed before the mortar completely hardens, usually within 24 hours of installation.
Can tile spacers be reused?
While tile spacers can technically be reused if they're in good condition and thoroughly cleaned after each use, it's generally recommended to use new spacers for each project. This ensures precise spacing and prevents any issues that might arise from worn or damaged spacers.
What happens if tile spacers are left in permanently?
Leaving tile spacers in permanently can lead to several problems, including weak points in the grout, potential cracking, and moisture penetration. It's essential to remove them before grouting to ensure a strong, durable installation that will last for years to come.