

Professional tile installation requires precision, consistency, and the right tools to achieve flawless results. Among the most crucial components in modern tiling projects are tile clips, specialized devices designed to maintain uniform spacing and eliminate lippage between adjacent tiles. These innovative tools have revolutionized the way contractors and DIY enthusiasts approach tile installation, ensuring that every surface achieves a perfectly level finish that meets professional standards. The importance of using quality tile clips cannot be overstated, as they directly impact the final appearance, durability, and overall success of any tiling project.
Understanding the Mechanics of Tile Clips
Core Components and Design Principles
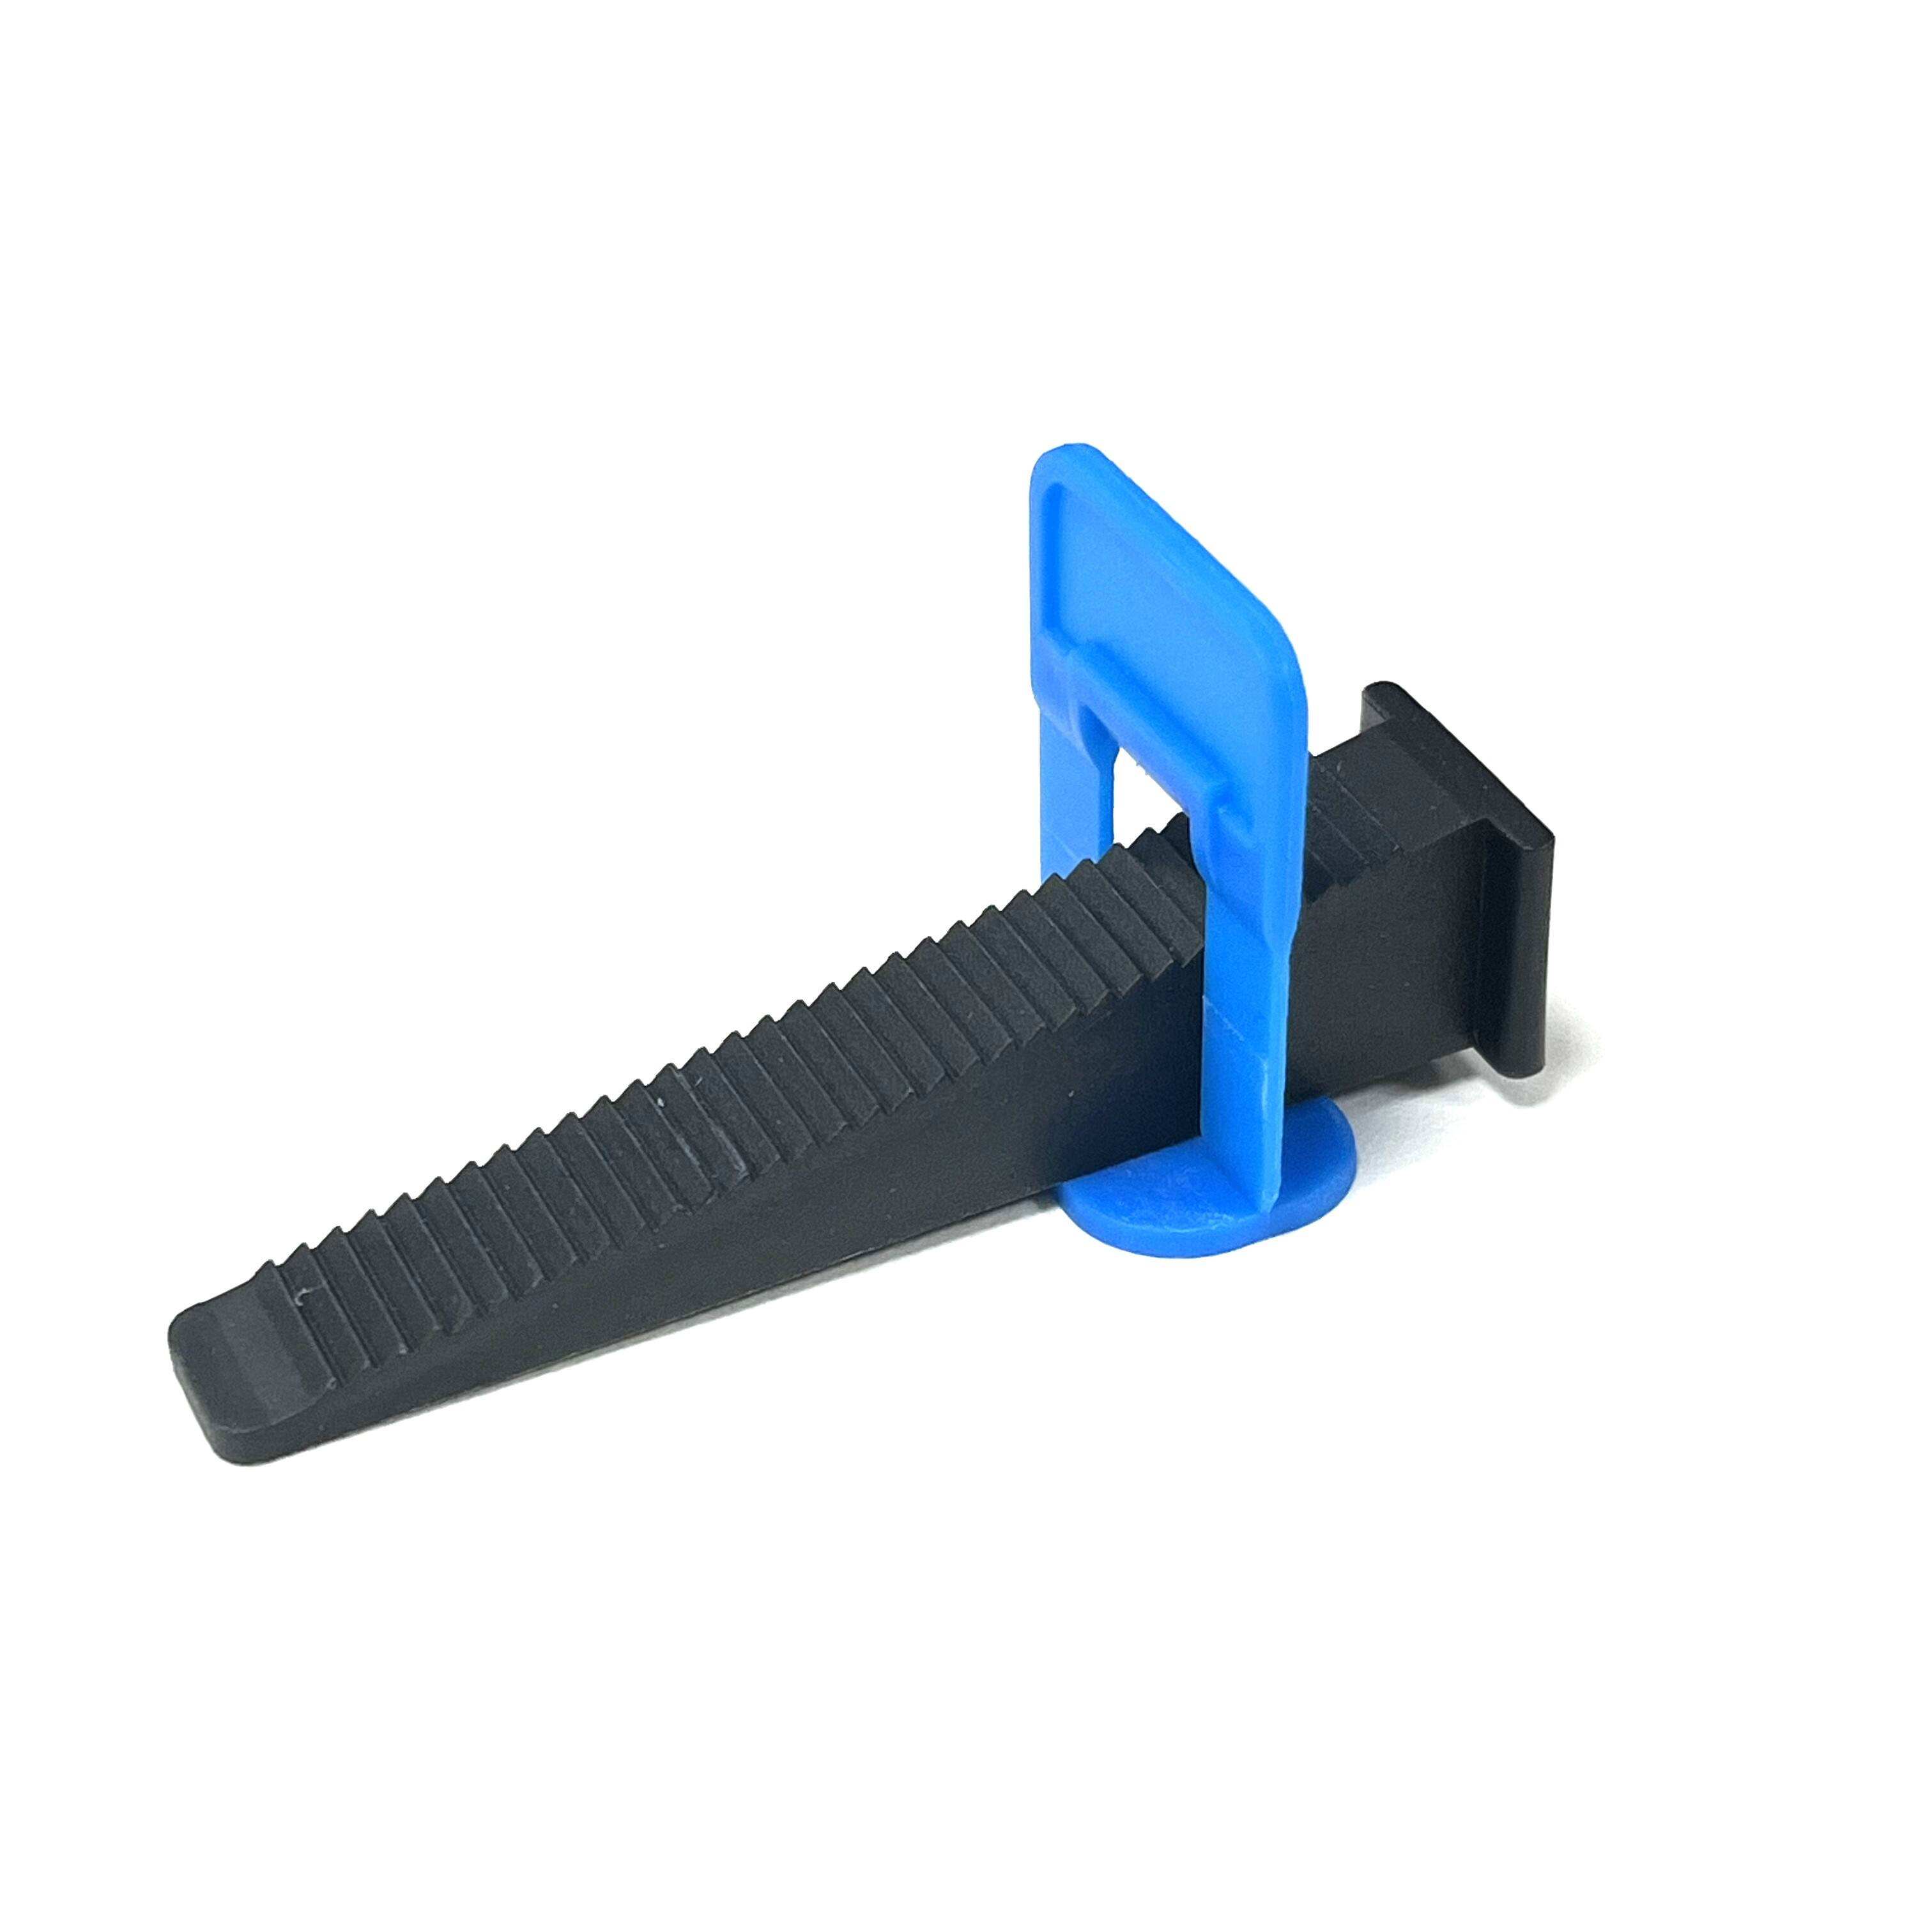
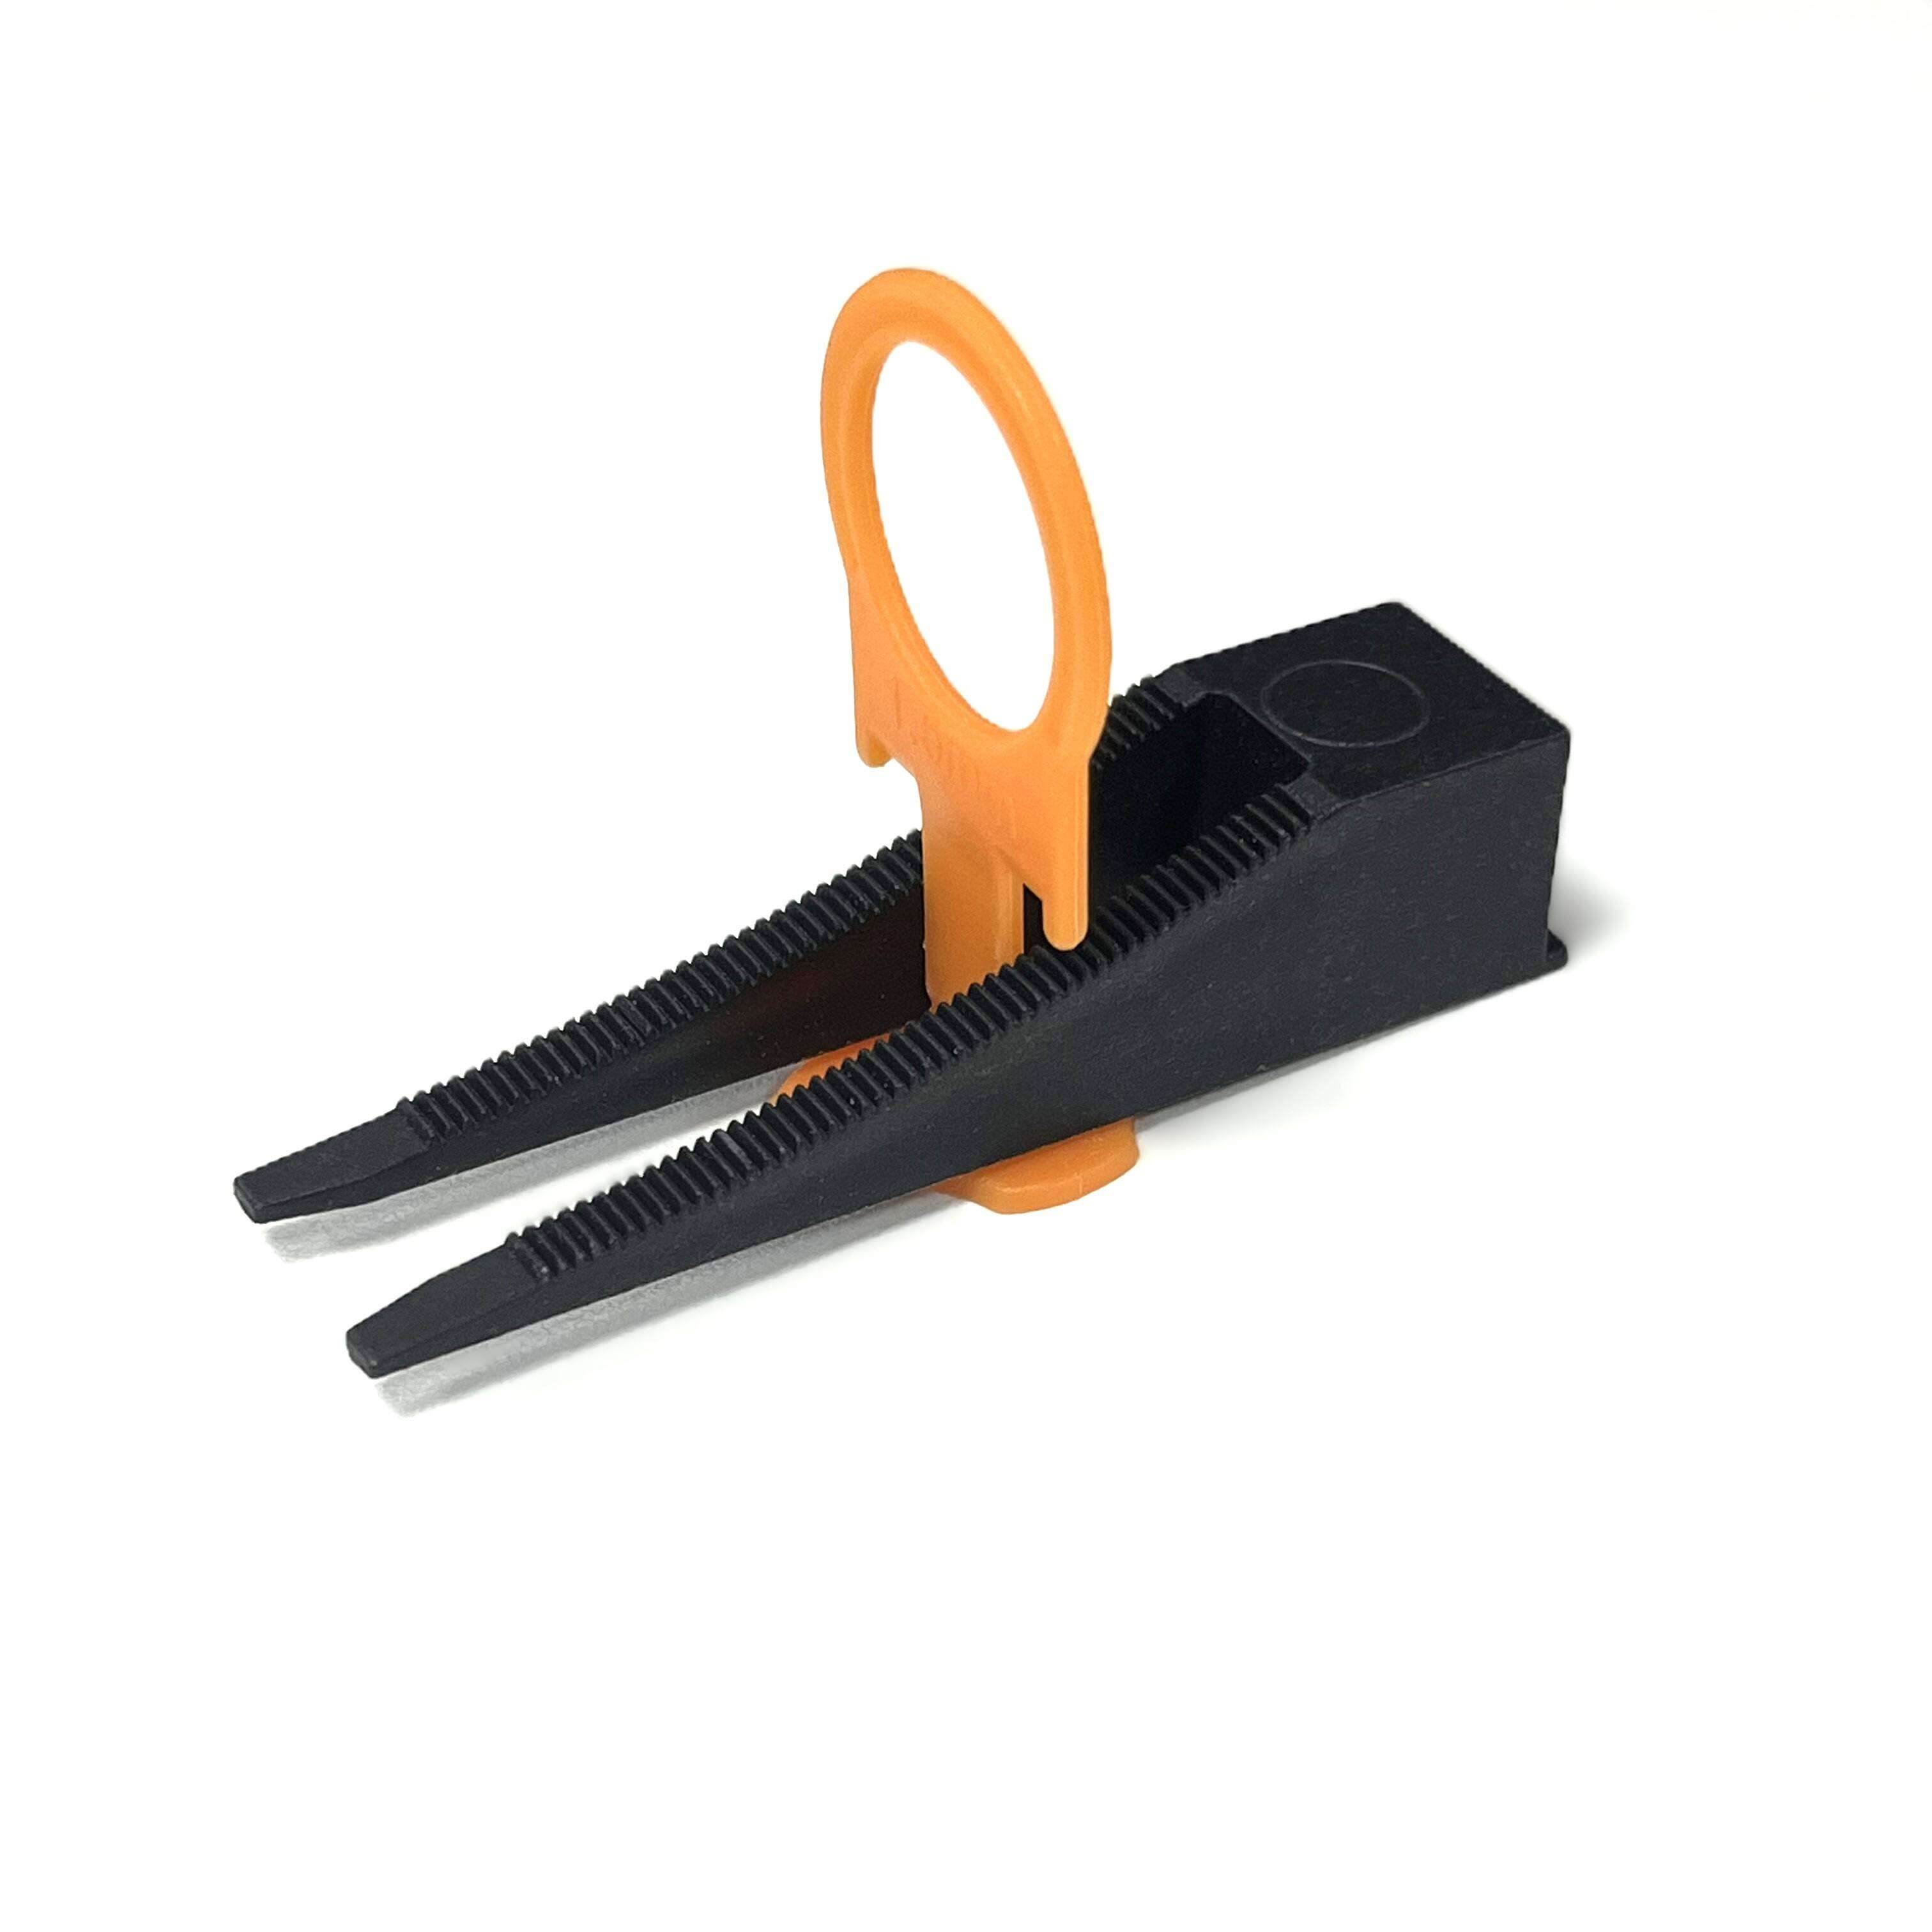
Tile clips operate on a simple yet effective mechanical principle that addresses one of the most common challenges in tile installation: achieving consistent height alignment across multiple tiles. These devices typically consist of a base plate that sits beneath adjacent tiles and a removable wedge or cap that applies downward pressure to maintain level positioning. The engineering behind tile clips focuses on distributing weight evenly across the tile surface while preventing any vertical movement during the adhesive curing process.
The base plate component of tile clips features strategic cutouts and grooves designed to accommodate various tile thicknesses and grout line widths. This versatility ensures compatibility with different tile materials, from ceramic and porcelain to natural stone and large format slabs. The pressure-applying mechanism works by creating a controlled force that keeps tiles in perfect alignment, eliminating the lippage that can occur when tiles settle unevenly into the adhesive bed.
Material Construction and Durability Standards
Quality tile clips are manufactured from high-grade plastic polymers or composite materials that offer excellent strength-to-weight ratios and chemical resistance. These materials must withstand the alkaline environment created by tile adhesives and mortars without degrading or losing their structural integrity. The manufacturing process involves precision molding to ensure consistent dimensions and tolerances that are critical for achieving uniform results across large installation areas.
Advanced tile clips incorporate reinforcement ribs and stress-distribution features that prevent breakage under normal installation loads. The material selection also considers thermal expansion characteristics to ensure that the clips maintain their shape and function across varying temperature conditions. This attention to material science ensures that tile clips provide reliable performance throughout the installation process and can be easily removed without damaging the finished surface.
Professional Installation Techniques
Proper Placement and Spacing Methods
Effective use of tile clips requires understanding proper placement techniques that maximize their leveling capabilities while maintaining appropriate grout line spacing. Professional installers position tile clips at the intersection points of four tiles, allowing a single device to influence the alignment of multiple surfaces simultaneously. This strategic placement minimizes the total number of clips required while ensuring comprehensive coverage across the installation area.
The spacing between tile clips depends on tile size, substrate conditions, and specific project requirements. Larger format tiles typically require closer clip spacing to prevent sagging or movement in the center areas, while smaller tiles may need fewer clips due to their inherently greater stability. Understanding these relationships allows professionals to optimize their clip usage while maintaining consistent quality standards.
Integration with Adhesive Systems
The relationship between tile clips and adhesive systems is crucial for achieving optimal results in professional installations. Tile clips work most effectively with adhesives that have appropriate open time and workability characteristics, allowing sufficient time for proper positioning and adjustment. The clips must be installed while the adhesive maintains sufficient tack to hold the tiles in position but before it begins to skin over or lose its bonding properties.
Professional installers coordinate their tile clips usage with adhesive application patterns to ensure maximum effectiveness. This includes understanding how different adhesive formulations interact with the clip base plates and adjusting installation sequences accordingly. The goal is to create a synergistic relationship where tile clips and adhesive work together to maintain perfect alignment throughout the curing process.
Quality Assurance and Level Achievement
Lippage Prevention and Surface Uniformity
One of the primary functions of tile clips is preventing lippage, the uneven height differential that can occur between adjacent tiles during installation. This common problem not only affects the visual appearance of the finished surface but can also create functional issues such as difficulty in cleaning and increased wear patterns. Tile clips address this challenge by maintaining consistent pressure across tile edges, preventing any vertical movement that could result in height variations.
The effectiveness of tile clips in preventing lippage depends on proper selection and application techniques. Different clip designs offer varying degrees of adjustment and pressure distribution, allowing installers to choose the most appropriate option for specific tile types and installation conditions. The consistent use of tile clips across an entire project ensures uniform surface quality that meets professional standards and customer expectations.
Quality Control and Inspection Procedures
Professional tile installation requires systematic quality control measures that verify the effectiveness of tile clips throughout the installation process. Regular inspection of clip positioning, pressure application, and tile alignment helps identify potential issues before they become permanent problems. These quality control procedures include checking for proper clip seating, verifying uniform grout line spacing, and confirming that all tiles maintain consistent height relationships.
Advanced quality control techniques involve using precision measurement tools to verify surface flatness and uniformity across large installation areas. The use of tile clips significantly improves the predictability and consistency of these measurements, reducing the variability that can occur with traditional installation methods. This systematic approach to quality assurance ensures that the final installation meets or exceeds industry standards for professional tile work.
Economic Benefits and Efficiency Gains
Labor Savings and Installation Speed
The implementation of tile clips in professional installations provides significant labor savings through improved efficiency and reduced rework requirements. Traditional tile installation methods often require extensive adjustment and realignment during the installation process, consuming valuable time and increasing labor costs. Tile clips eliminate much of this adjustment work by maintaining proper alignment automatically, allowing installers to work more quickly while maintaining quality standards.
The time savings achieved with tile clips become particularly significant on large commercial projects where installation efficiency directly impacts project profitability. Professional contractors report substantial reductions in installation time when using quality tile clips compared to traditional methods. These efficiency gains allow contractors to complete projects faster, reducing overall labor costs while maintaining the high-quality results that clients expect.
Material Waste Reduction
Tile clips contribute to material waste reduction by minimizing the need for tile replacement due to improper alignment or lippage issues. Traditional installation methods may require removing and reinstalling tiles that do not meet alignment standards, resulting in material waste and additional labor costs. The consistent performance of tile clips reduces these quality issues, ensuring that tiles are properly positioned from the initial installation.
The precision achieved with tile clips also reduces waste in related materials such as adhesives and grout. Consistent tile positioning ensures uniform adhesive coverage and predictable grout joint dimensions, eliminating the material waste that can occur with uneven installations. This comprehensive approach to waste reduction contributes to overall project cost savings while supporting sustainable construction practices.
Technical Specifications and Selection Criteria
Load Capacity and Performance Parameters
Professional-grade tile clips must meet specific load capacity requirements to handle the weight and stress conditions encountered in various installation scenarios. The load capacity specifications include both static load ratings for supporting tile weight and dynamic load ratings for handling installation stresses. These technical parameters ensure that tile clips maintain their structural integrity throughout the installation process and provide reliable performance across different tile types and sizes.
Performance parameters for tile clips also include dimensional accuracy, temperature resistance, and chemical compatibility with common tile installation materials. These specifications are particularly important when working with specialized tiles or extreme installation conditions. Professional installers rely on these technical specifications to select the most appropriate tile clips for specific project requirements, ensuring optimal performance and long-term reliability.
Compatibility Considerations
The selection of appropriate tile clips requires careful consideration of compatibility factors including tile thickness, surface texture, and installation substrate characteristics. Different clip designs accommodate varying tile thickness ranges, and selecting clips with appropriate capacity ensures proper function and ease of removal. Surface texture compatibility is particularly important when working with textured or irregular tile backs that may affect clip seating and performance.
Substrate compatibility considerations include the flatness and stability of the underlying surface, as well as the type of adhesive system being used. Tile clips perform best on properly prepared substrates that provide stable support throughout the installation process. Understanding these compatibility relationships allows professionals to optimize their tile clips selection and achieve the best possible installation results.
Advanced Applications and Specialized Uses
Large Format Tile Installations
Large format tiles present unique challenges that make the use of tile clips particularly beneficial for achieving professional results. The increased surface area and weight of large format tiles make them more susceptible to sagging and movement during installation, making precise alignment more critical for overall appearance quality. Tile clips provide the additional support and positioning control necessary to manage these larger tiles effectively.
The strategic placement of tile clips becomes even more important with large format installations, as the consequences of misalignment are magnified across the larger tile surfaces. Professional installers often use increased clip density and specialized placement patterns to ensure adequate support and alignment control. The investment in quality tile clips for large format installations pays dividends in improved installation quality and reduced call-back issues.
Challenging Substrate Conditions
Tile clips provide particular value in challenging substrate conditions where traditional installation methods may struggle to achieve consistent results. Substrates with minor irregularities or slight variations in flatness can benefit from the leveling action provided by properly positioned tile clips. This capability allows professional installers to achieve excellent results even when working with less-than-ideal substrate conditions.
The use of tile clips in challenging conditions requires additional attention to clip selection and placement techniques. Professional installers may need to adjust their clip spacing and pressure settings to accommodate specific substrate characteristics while maintaining the alignment and quality standards expected in professional installations. This adaptability makes tile clips valuable tools for addressing a wide range of installation challenges.
FAQ
What tile thickness range do professional tile clips accommodate?
Professional tile clips are designed to accommodate a wide range of tile thicknesses, typically from 3mm to 20mm, depending on the specific clip design and manufacturer specifications. The base plate dimensions and wedge or cap mechanisms are engineered to provide effective leveling action across this thickness range while maintaining proper grout joint spacing. When selecting tile clips for a specific project, it is important to verify that the chosen clips are compatible with the actual tile thickness being installed to ensure optimal performance and easy removal after installation.
How many tile clips are typically required per square meter of installation?
The number of tile clips required per square meter varies based on tile size, substrate conditions, and specific installation requirements. For standard ceramic or porcelain tiles in the 300-600mm range, professional installers typically use 12-20 clips per square meter. Large format tiles may require higher clip density, potentially 20-30 clips per square meter, to provide adequate support and alignment control. The exact quantity should be determined based on tile dimensions, installation conditions, and manufacturer recommendations to ensure optimal results while managing material costs effectively.
When should tile clips be removed during the installation process?
Tile clips should be removed after the tile adhesive has achieved sufficient strength to maintain tile position but before it reaches full cure. This timing typically occurs 2-4 hours after installation, depending on adhesive type, environmental conditions, and specific product recommendations. The clips are designed for easy removal during this window, allowing the protruding portions to be snapped off at the grout line level. Waiting too long can make removal more difficult, while removing clips too early may allow tiles to shift out of alignment.
Can tile clips be reused in multiple installation projects?
Tile clips are designed as single-use items and cannot be reused once they have been installed and removed from a tiling project. The removal process involves breaking or snapping off the protruding portion of the clip, leaving the base plate permanently embedded beneath the tiles. This design ensures that the clips provide maximum stability during installation while allowing for clean removal that does not interfere with grouting operations. Professional contractors factor the single-use nature of tile clips into their material costs and project planning to ensure adequate supplies for each installation.